Hey hey guys,
So how is everyone doing? For those of us celebrating the holiday season, are you getting ready? I put up my tree this week which is early for me. Usually doesn't go up until a week before Christmas. My shopping on the other hand, has not even started and I wont say I will soon because I know I wont. I am the worst procrastinator I was actually shopping on the 24th the last 2 years in a row....... But I have been seeing a lot of gorgeous Christmas manis around and I am horrible at freehand drawing and wanted to do something christmas-y but not all out there. Will be doing that this week perhaps. So, I still had never tried my stripping tape to do cool designs like I had seen others do and wanted to try that. So, I have for you, albeit not the best and messy, my first stripping tape mani. TO be a little Christmas y I used 2 China glaze polishes "Icicle" and "Blue year's eve".
The silver one is "icicle" , a silver foil polish. It is not too unique but sure is Christmas-y. I love the foil look of it:)
"Blue years eve" is a gorgeous dark deep blue with glass flecks. It has a sheer blue base packed with different color shimmers. I love it:)
Now, if you have never done a stripping tape mani, it really is not hard to do! Just paint your nails with a color (or 2 or 3, go wild. If its your first time, to get the trick, try one color and go from there) and let it dry. Once they are dry, take you tape and start making any design you want on your nail. Meaning make horizontal or vertical lines. You can overlap the tape with other pieces (just remember what order you put them on) and try to make star shapes. Its time to get creative. Once all the tape is on (I did all the tape work first. You could do it by nail) choose which color you want on top. So remember, the color you put underneath is the one that will be popping out. Most likely the one you will see less. So apply the polish and then WHILE WET (this is very important. I didn't believe it myself when I read it and looked up a few more to make sure, but yes) remove the tape. if they are overlapping each other, take them off with the last one you applied first. This will now give you a cool design. When you apply the top polish, I suggest doing one nail at a time because you don't want the polish to dry. You want to remove it wet. So, let's have a look at mine:)
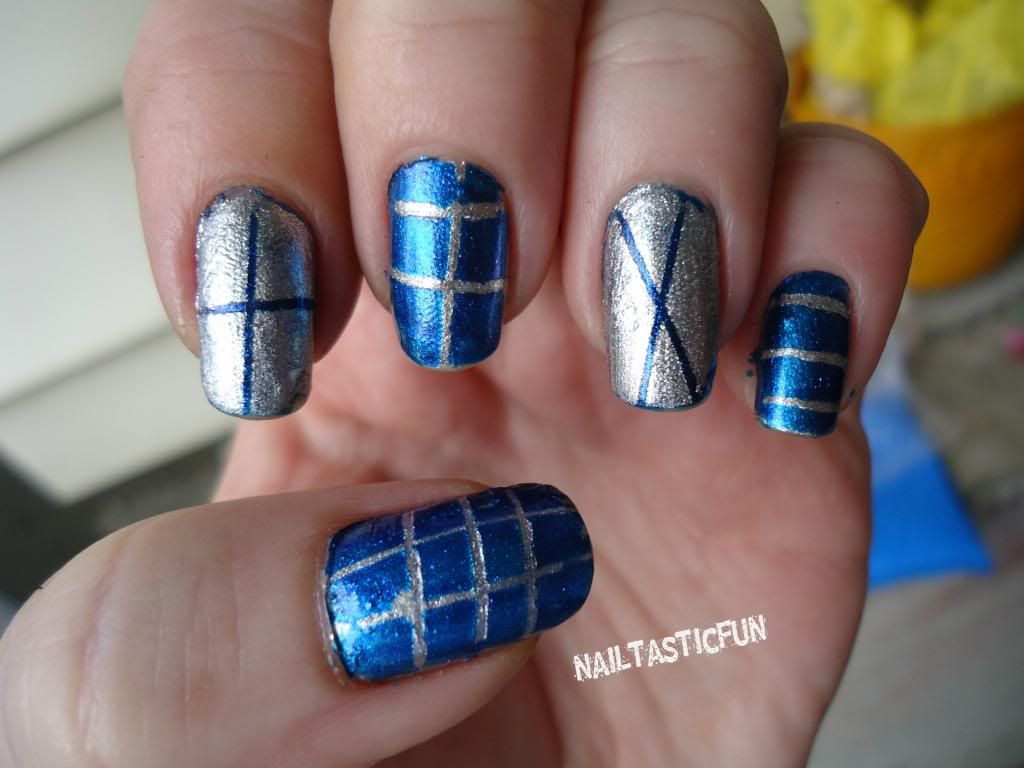
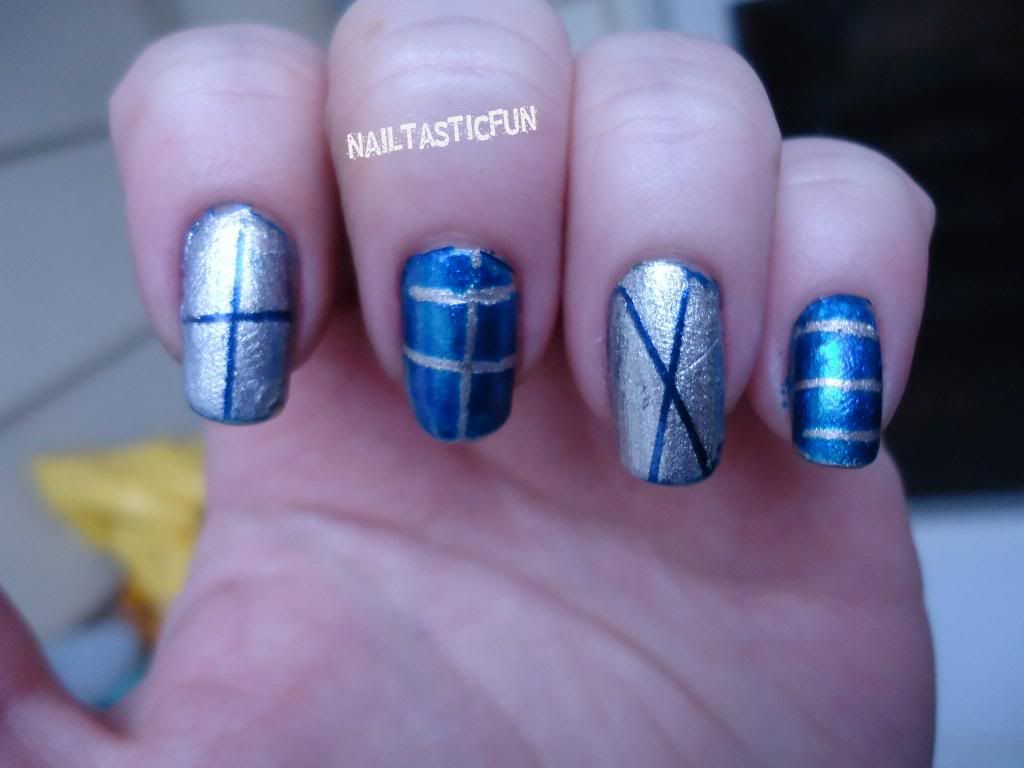
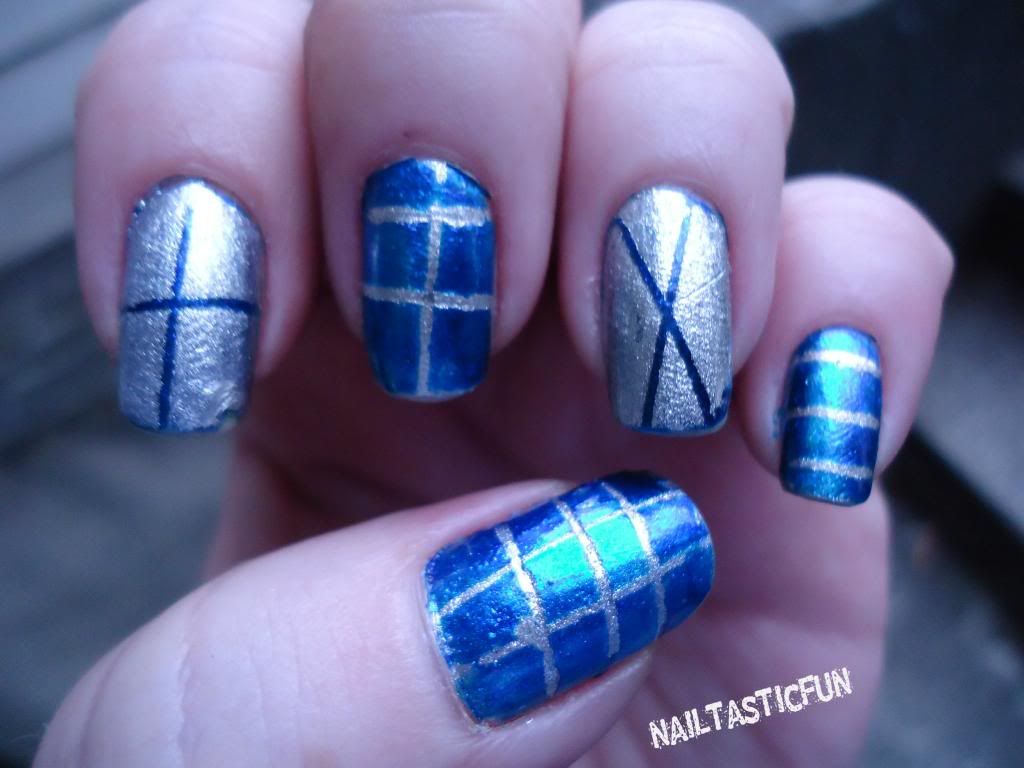
Must add that these were done a few days ago and I didn't add a top coat so there's a lot of chipping . And it was my first time so these are , well I will just say it, A MESS!!!! But I wanted to show them because it was fun and if they didn't have all the chips and scrapes and such, they would look great. So please see the potential, not just what I am showing....lmao:) Also, in spots where the polish looks smushed, particularly my index finger on my left hand (picture below) its just part of taking off the tape when the polish is still wet. Its a learning process. You have to be careful because , like me, you can make a mess....
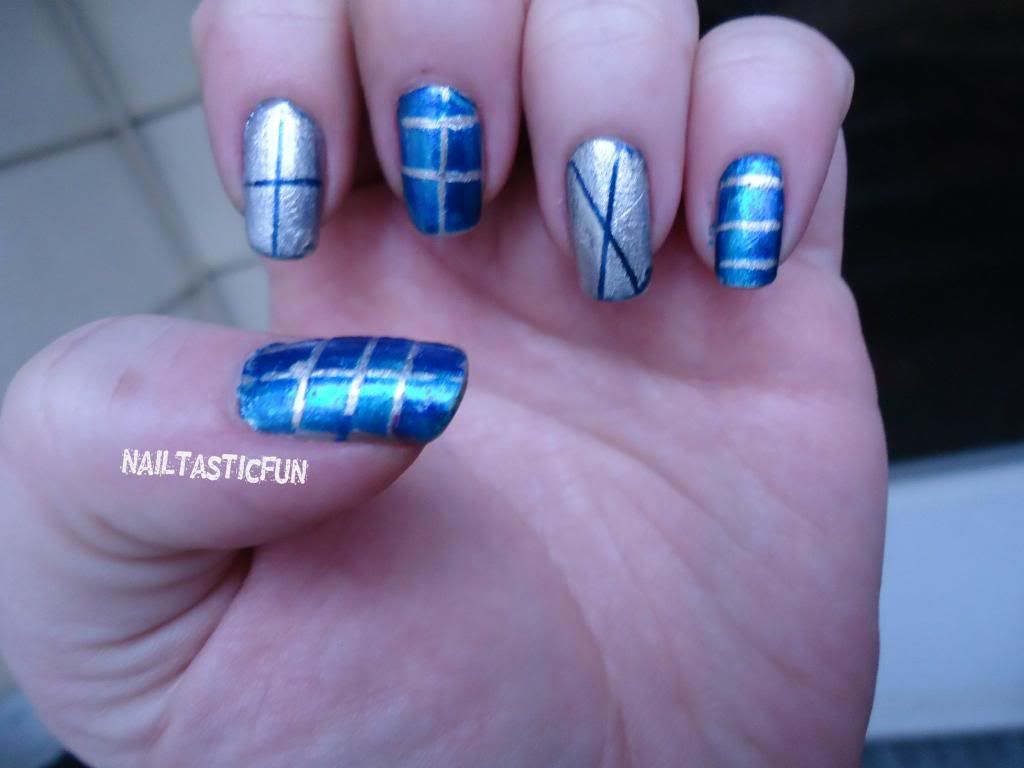
I just did a bunch of different designs on each finger and changed the base on two fingers:) You can do whatever it is you think of:)
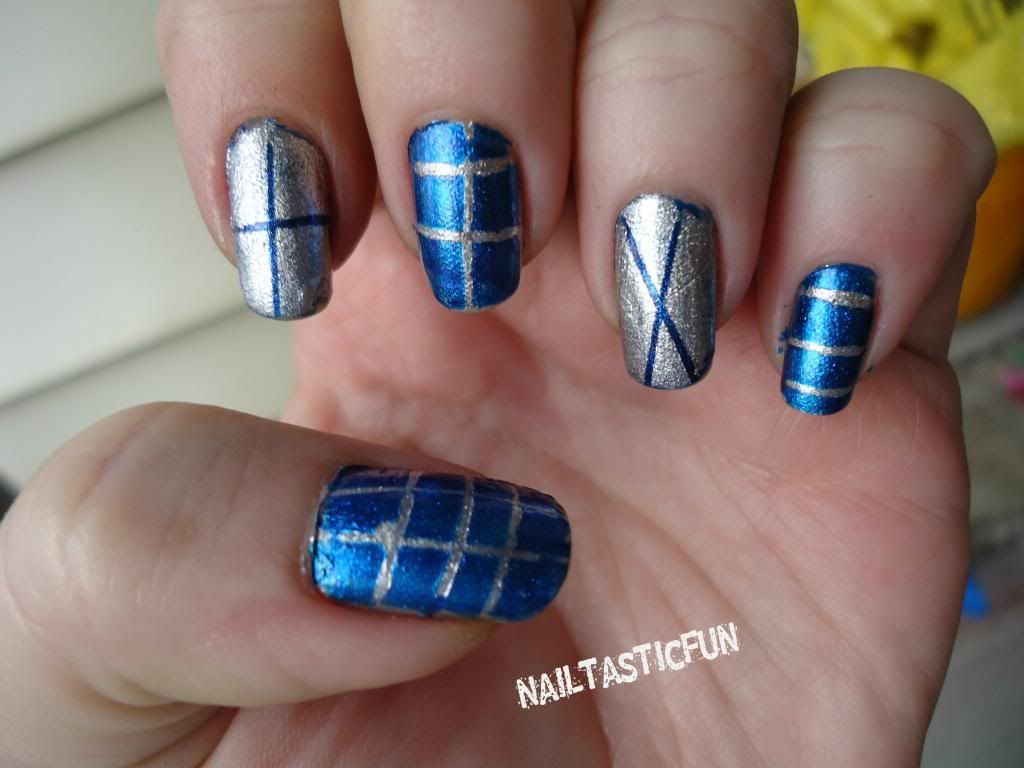
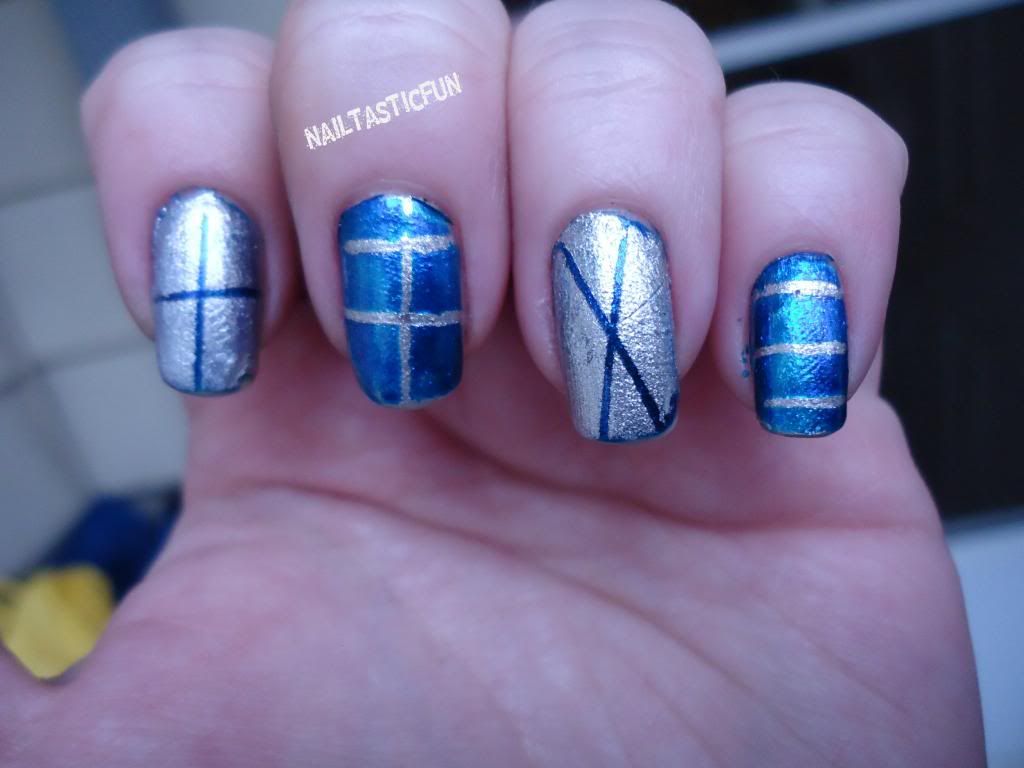
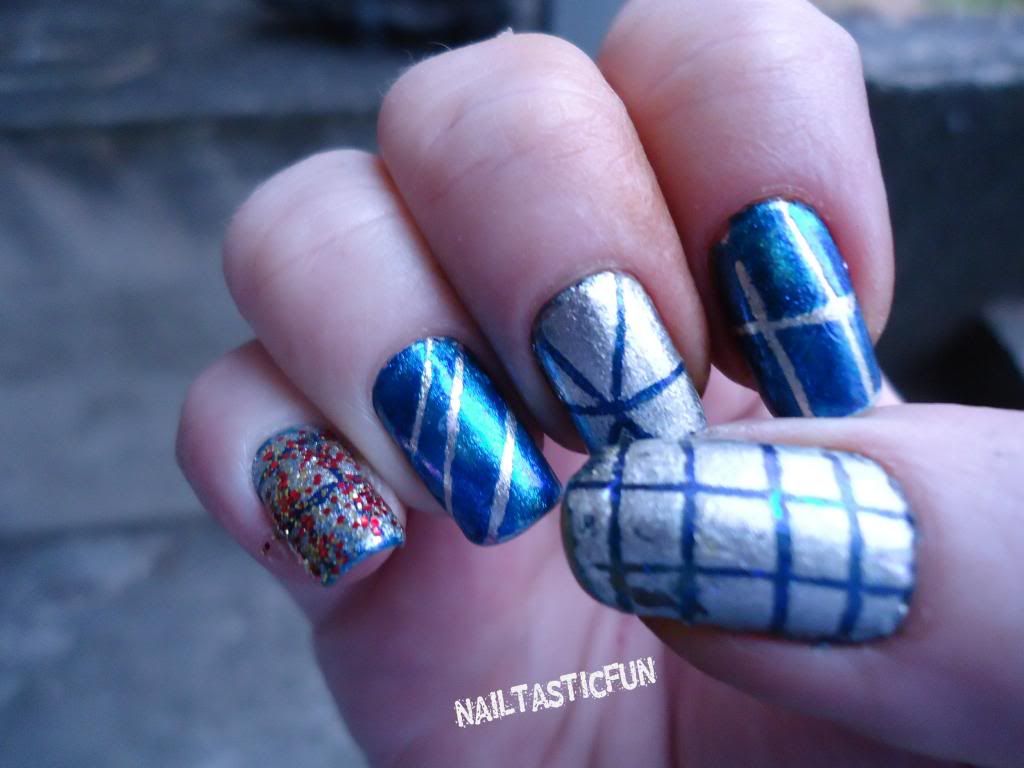
Here's my other hand. I was going to add a glitter top coat but once I saw what it looked like, I decided against it. But that's what's on my pinky...
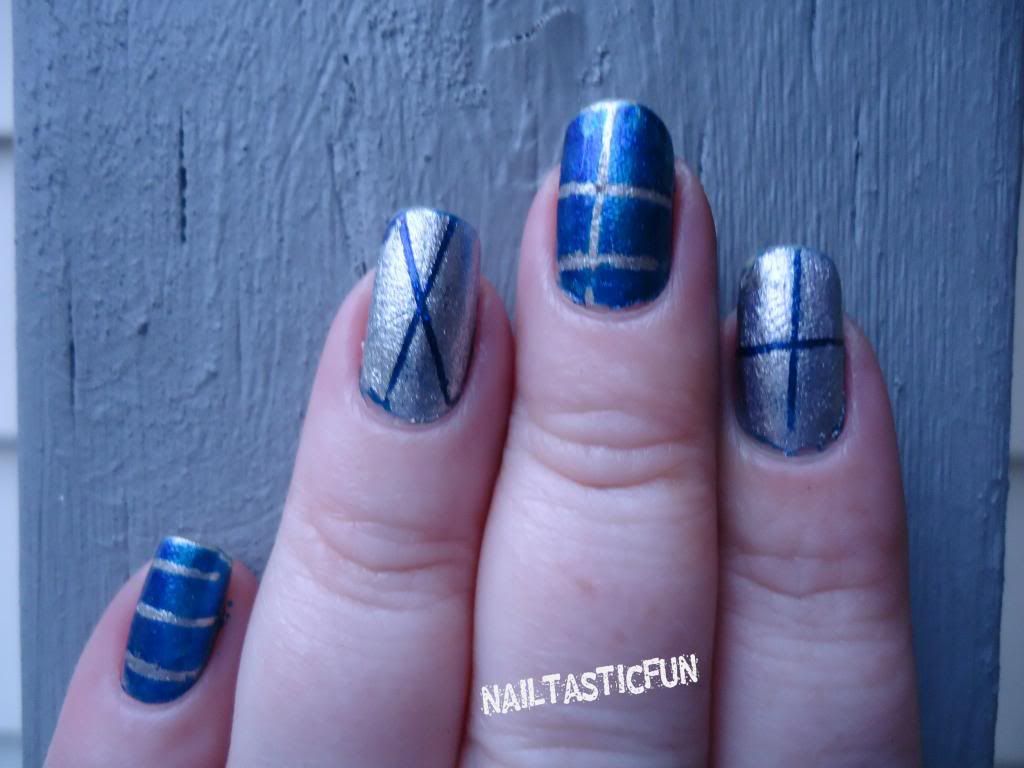
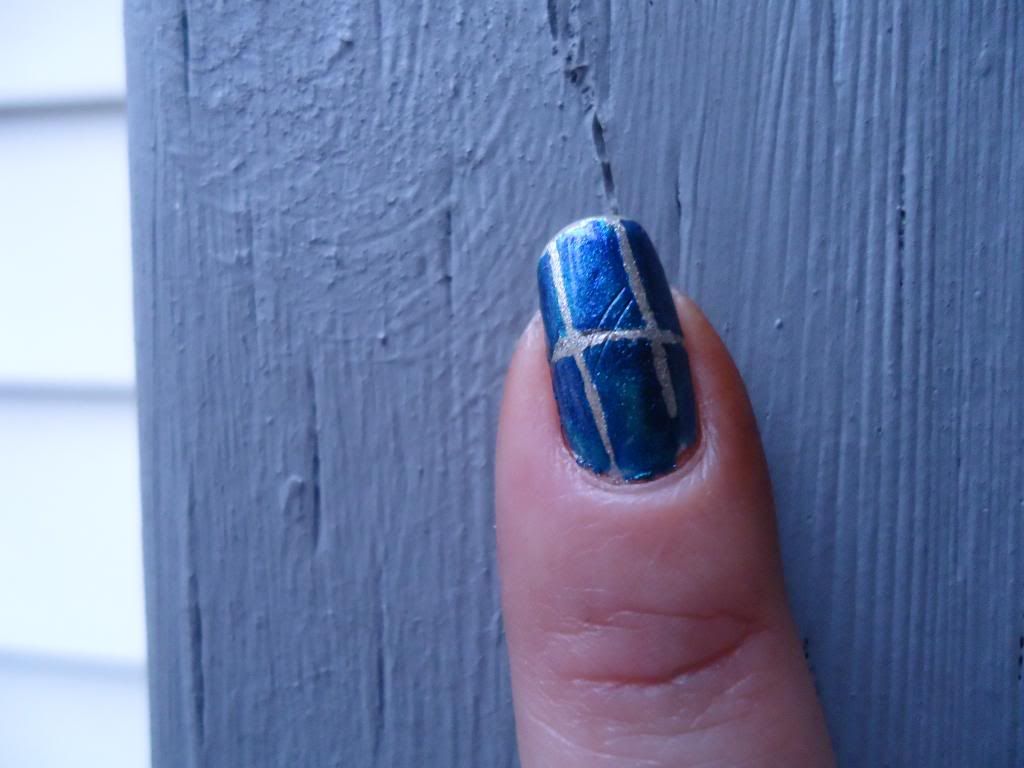
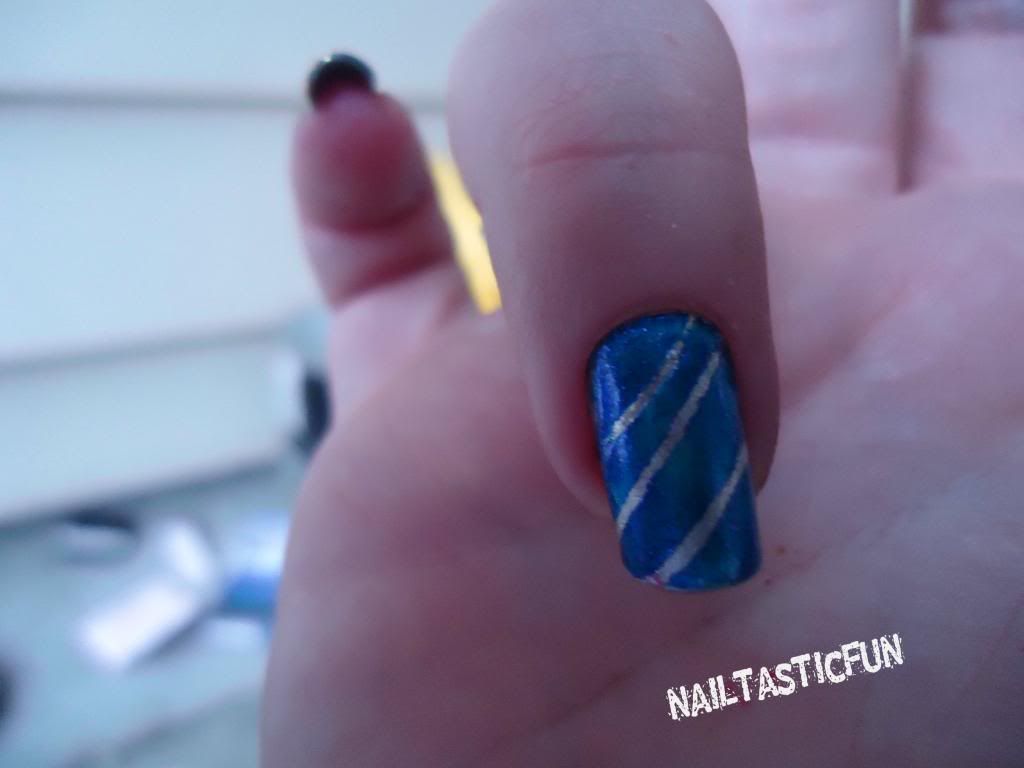
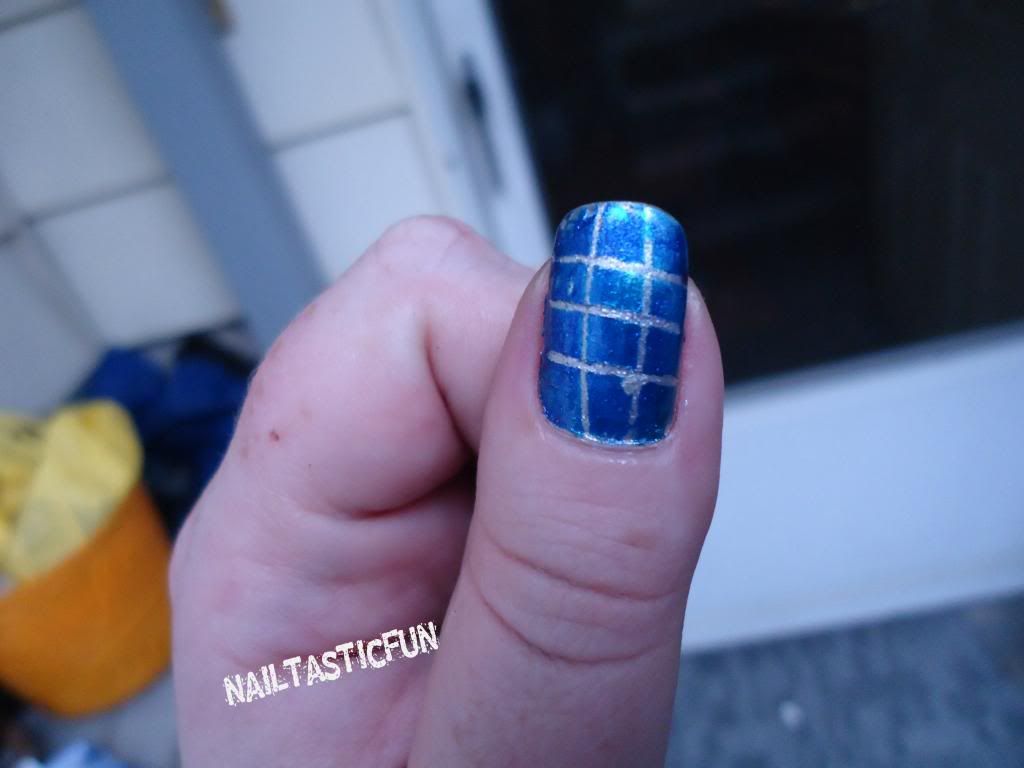
and just to highlight some of the different designs I did, here are some individual fingers:) Again, sorry about the no clean-up.
Not to sure why it looks so scratched up but...
SO there you have it. I hope you were able to see the potential. I will be doing these again:) You can also do it with normal tape and scissors or with scissors taht have different designs. I got my stripping tape on ebay for quite cheap. It can also be used to make these designs with the tape only.
Have any of you done these type of manis? Whats your favourite design to do? Did you have a hard time such as I did. I have since done it on some other nails as accent nails and it turned out much better. So like most things, practice makes better. Hope you guys enjoyed my post and love to hear all opinions from you guys. Till next time.....
XXOXOO





Cute! I like how you switched up the base color/top color on every other nail.
ReplyDeletethanks:) Thats what happens when you're as indecisive as I am:)
Delete