Fast Blinking Hello Kitty

Wednesday, 15 May 2013

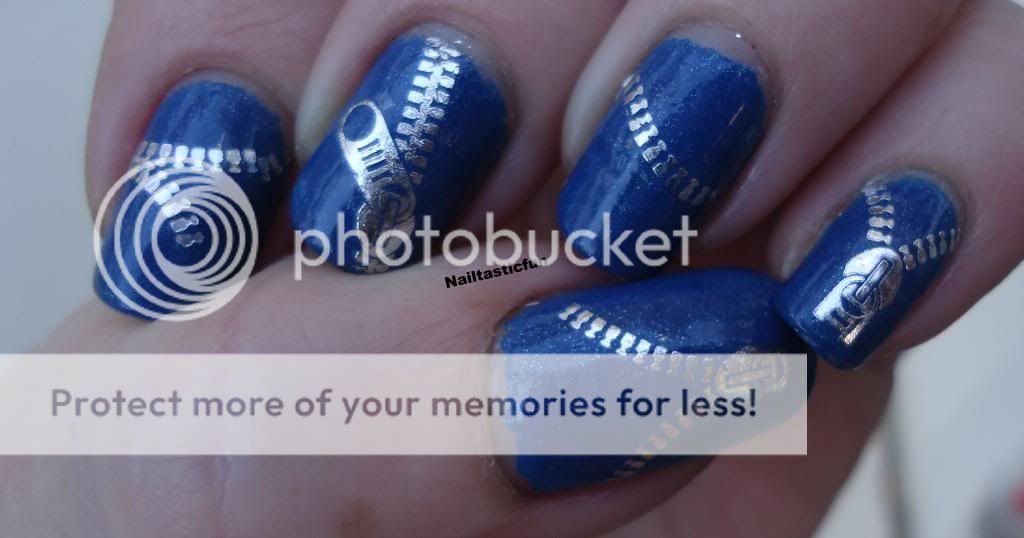
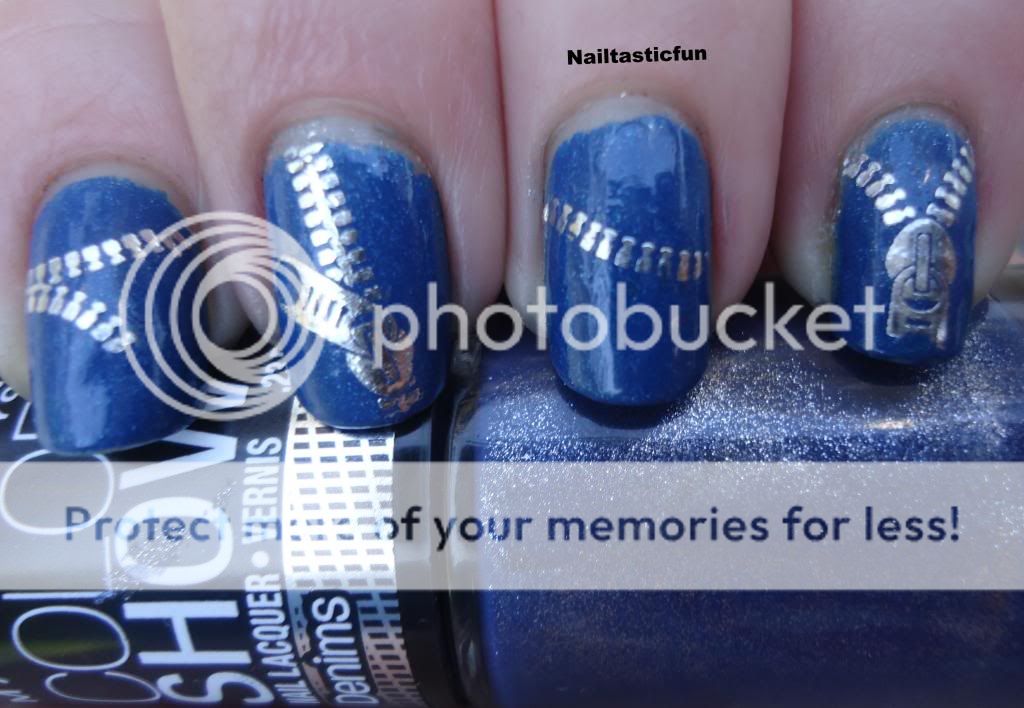
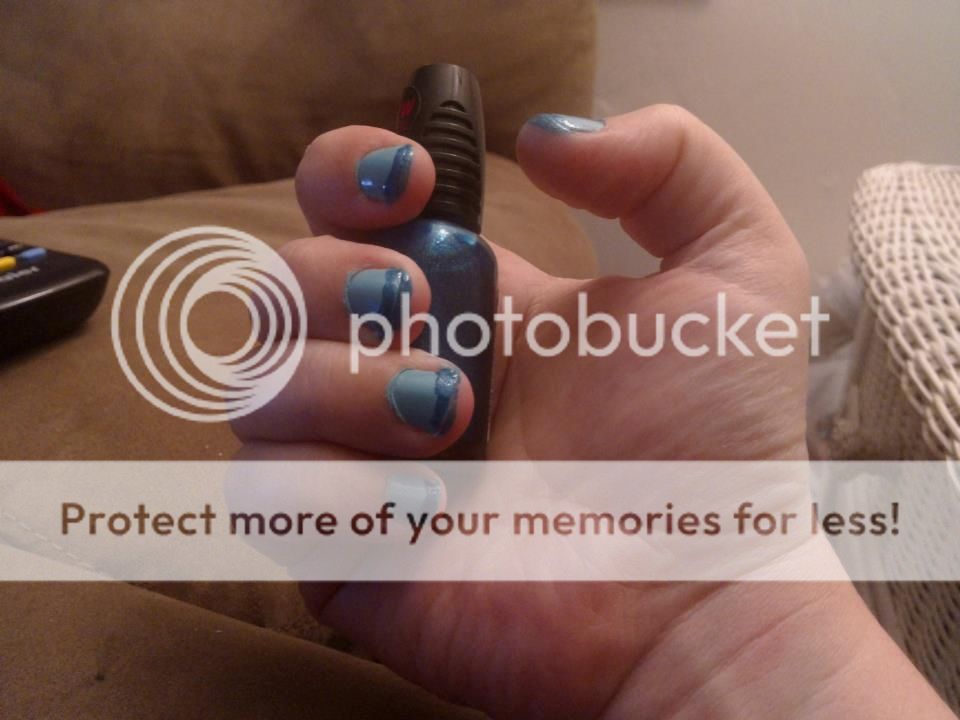
Bornpretyystore.com Zipper decals and Maybelline Color show "Denim Dash"


HEY HEY HEY,
Well, apart from the Monday mani challenges, I have not been posting for a bit:( Not to be all woe is me, because I hate and refuse to be that person but I have been under the weather as of late so, therefore, my posts have been lacking. BUT I am back tonight with something SUPER FUN!!!!!

I have some Zipper nail decals from bornprettystore. I LOVE these!! I had seen them in a picture a while back and originally thought that it was just some nail art and thought to myself "WOW! this person is so talented! There is no way I could ever do this....:)" But then I saw that they were decals and got so excited, I ordered them right away. Now, I must admit, I did think , at first, that I was buying stickers. I would get them, put them on my nails, like stickers and voila! Well, when I got them, that is not what they were.... SO, I was a bit intimidated at first, I admit it and did not use them for a bit. But then I put my big girl pants on and said "Let's try this"! You know what?? It was SO EASY!!!! Much easier than I thought it would be.....
There are 9 easy steps...

1.paint your nails any color of your choice ( I went with Maybelline color show "Denim dash". A perfect choice, I think, since they are from the "denim" collection.
2. Let them dry. and I mean, let them dry. Give it a while. You don't want them to be tacky.
3. Once your nails are dry, cut out all the shapes (pieces) you want to use. Use scissors, for best results.
4. Get a little bowl or cup, add water (I used room temperature water)
5. Now make sure you are ready to go. I did the mistake of letting the first one soak in the water a bit longer than needed and if you do so, the sticker will start separating from the back piece. I made sure I had a pair of tweezers handy, for easy pick up. SO don't add them all at once and then start going. They really do not need to be in the water long, so do it one by on.
6. Take the first piece you want to use, put it in the water, let it soak for about 30 seconds. It really doesn't take long... and again, as I said, you don't want them to soak long, or they will start separating from the back. so, once it has been about 30 seconds, pick it up with your tweezers, and place it on your finger, wherever you want it to be placed. The instructions it comes with says to first dip your finger in water, but I actually forgot to and it worked fine for me. You may want to do that, to be safe, but I didn't. Make sure you place it exactly where you want it because it is hard ( or almost impossible) to move it once you have applied it. If it goes over the nail and onto your cuticles/fingers, that is fine. You will clean it after.
7. Repeat step #6 for every finger.
8. I waited until all my fingers were done and then I dried them with the hair dryer. I did about a minute on each hand, doing all my fingers at the same time, with my hands placed like this>
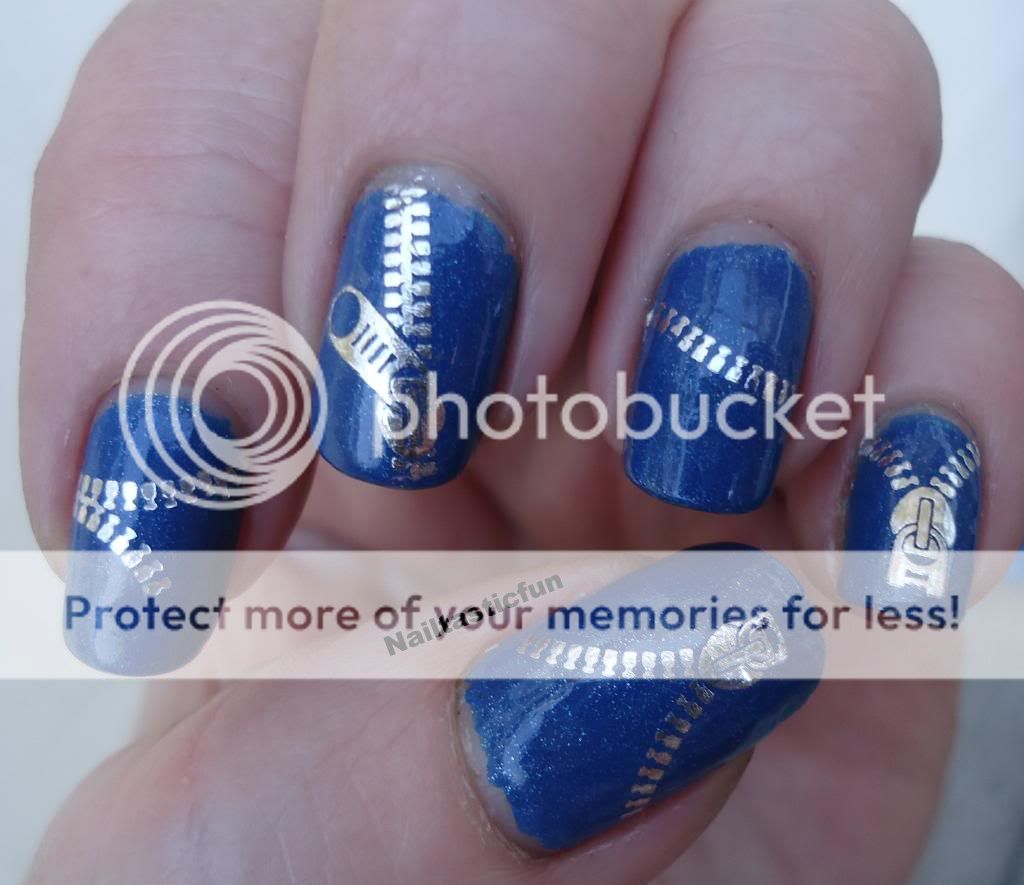
And there you have it, you're done. Listen, it is much easier than it sounds!! Doesn't even take long, at all. and of course, the last step that I did was.....
9. Take a small nail art/makeup brush, dip it in polish remover and clean up the edges of your nails where the sticker may have gone over. Finish with a top coat.

It makes for such a gorgeous mani! I LOVE IT! and, I have pieces left over for about one more mani:) So, let's see how my nails looked, shall we? As I said I used a denim polish, which for obvious reasons , I thought was just perfect. The polish I used was...............

Maybelline color show "Denim dash":  a dusty blue, one coater, with flaky foil shimmer and a matte finish. The best way to describe it is, as it's name sake, DENIM!! It really looks like the color of denim jeans:)


Let's get to the pictures!!!
                                                              In the sun               


As I said, I thought the denim polish from maybelline was just the perfect fit for these. But I think the colors it would go with, are, obviously, endless. I think it would be great with red, black or even gold... Anything!

They have enough designs to make it look, if you want, as though the first finger (thumb or index) is the zipper going down and the just have the zipper decal till the pinky, so it looks like it is being unzipped.. You can use your imagination. I Just went by finger...
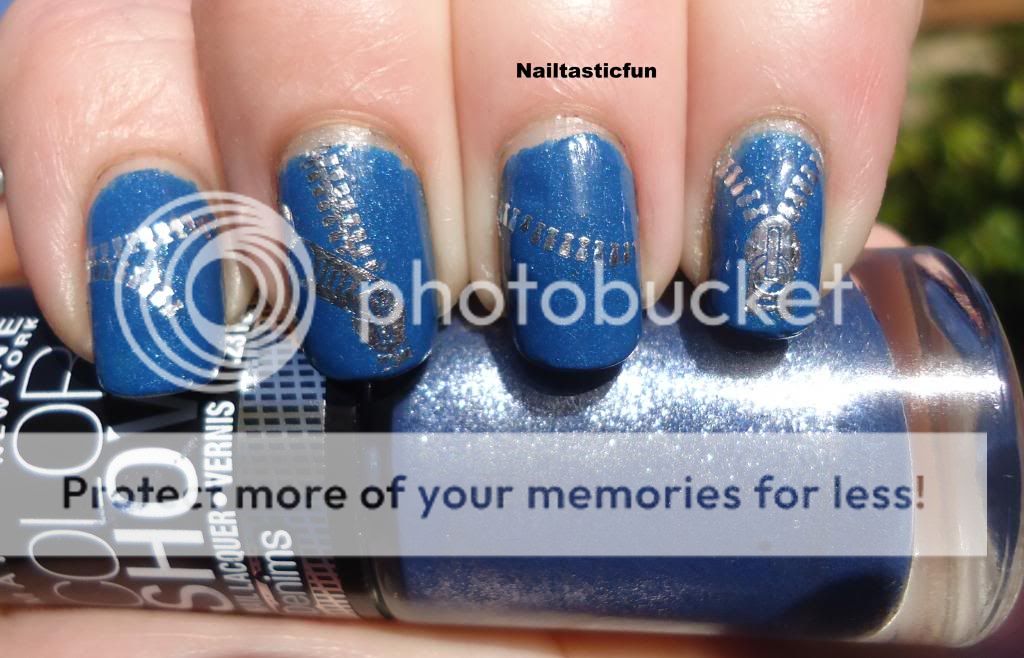


I just LOVE it. For someone who is "artistically" challenged as I am but loves nail art, these are just perfect!!


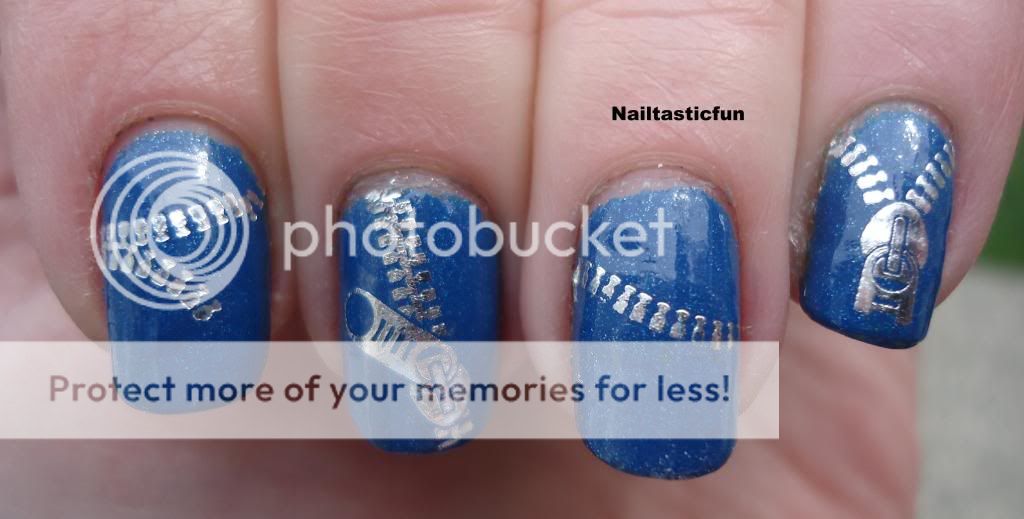
UGH! Don't mind that stupid, lil hair stuck on my middle finger! It is driving me crazy! Seriously, where the heck did you come from!!?!?!
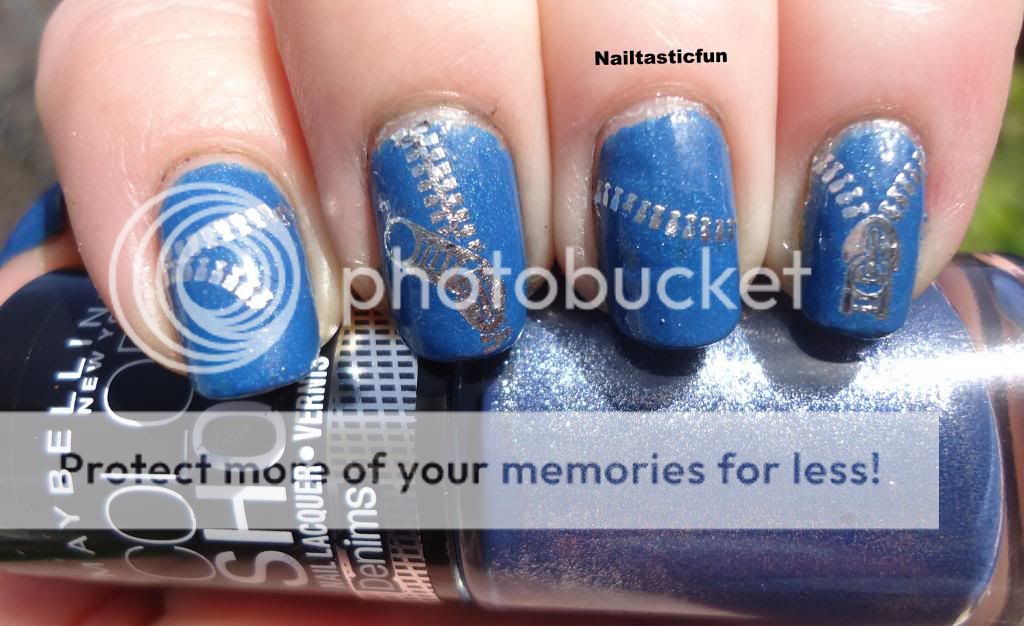
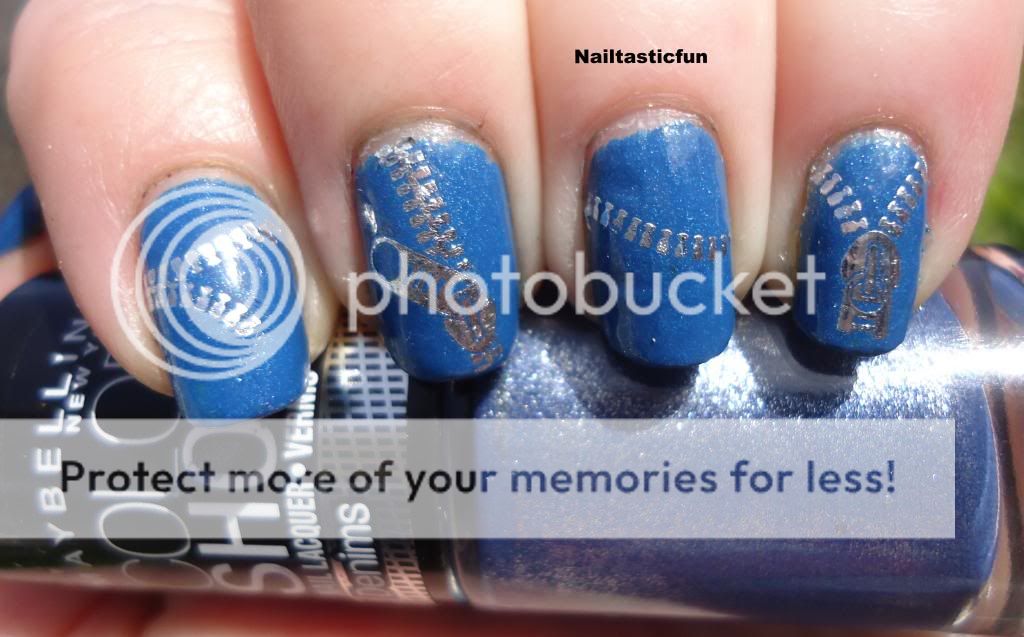


In the shade  
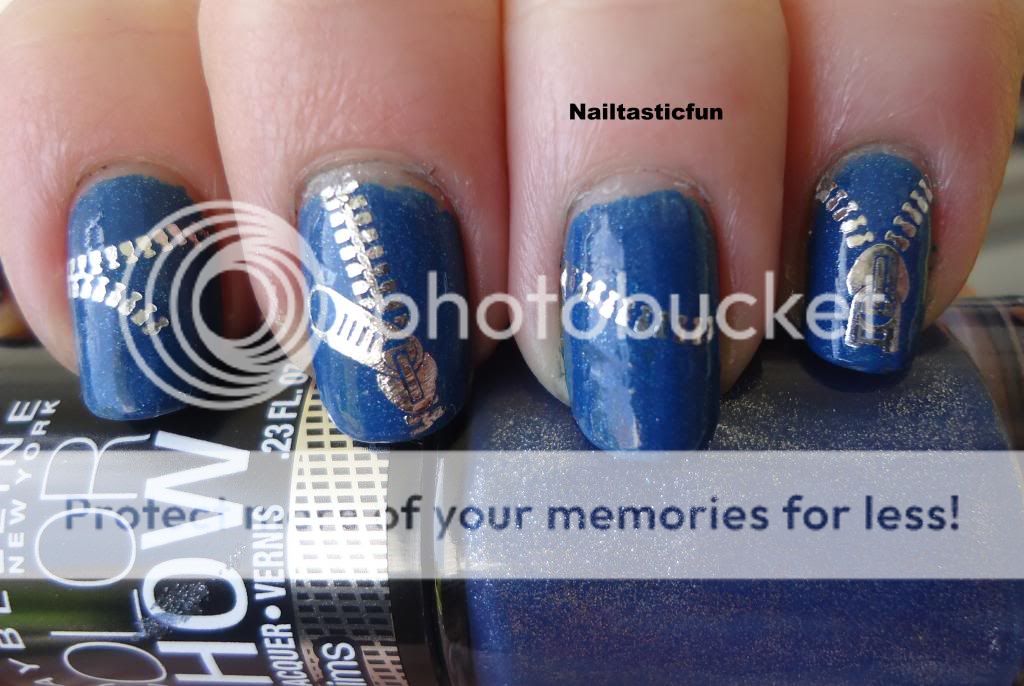


I LOVE the one on my thumb! Looks just like it is being opened:):) 


Of course, you can put them any direction you want. up/down, left/right.... Choices are all up to you and your tastes:)
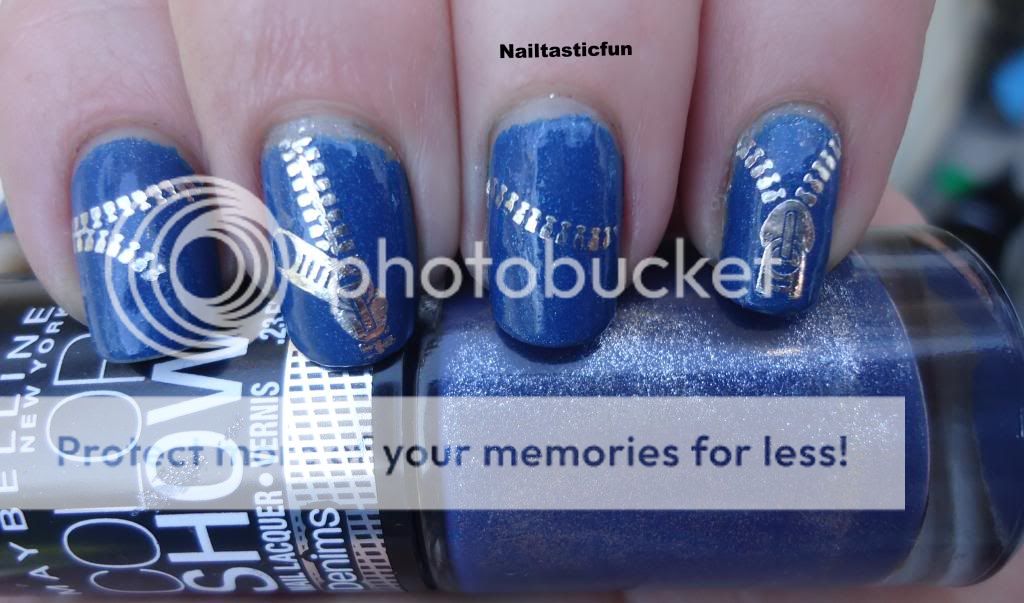
Here is my favourite. My thumb, with the zipper going down:)


So, there we have it. As always, my posts are picture heavy. Hopefully, by now, you guys are used to that just being the way I am...and hopefully people appreciate it:) You certainly see my mani's in every light:)
So, what do you guys think of these? I LOVED THEM! As I said, I was a bit intimidated at first, when I learned they were not just stickers, but I am so glad that these did not just sit in my "nail stuff" bucket forever  without being used. Because, as I said, it was so easy to use and the result was so satisfying! And I have enough to do at least one more mani, if not two, depending on if I put a decal on each finger or not. You can use the stickers for just an accent nail or two... As I said the possibilities are endless:)
I purchased these, as I said from bornprettystore. I have nothing but good to say about this store. It is my goto place for nail art equipment.  I have yet to go there for something I wanted and not being able to find it there  Their prices are more than reasonable and what I love most, FREE WORLDWIDE SHIPPING!! As most Canadians may feel, often times, things are a good price but it is that darn shipping that gets us. Shipping costs can be so high, it makes things not worth it! SO their great prices and free shipping really make it a great buy for nail art items:) You can pay 3$, if you like for verified mail. They also have great customer service. I once did not get my package that I had ordered, for whatever reason, not their fault, just a mail issue, which sucked. But they in turn asked me to pay the 3$ for verified mail and sent resent it to me. SO, I really have no complaints and nothing but good to say about this store. I know a lot of blogs have a lot of good to say about it but you can see they were given things for free and whatnot. I have never received anything free from this site so these opinions are my own and not at all influenced. I have ordered nail polish, art brushes, jewelry...so much from them and have never been disappointed ) The last thing I got were some nail studs and that is the next thing I plan to review:) I am super excited for them!
I hope you guys enjoyed my post:) I hope to be back and at 'em soon:) Thank you for stopping by and having a look. As always, I love to hear from you guys. Do any of you have these decals? Or any decals for that matter? Did you find them easy to apply? Have you ever ordered something from bornprettystore? If so , what did you get? Were you happy with your order??

Until next time, keep on polish them nails and staying drama free!!!!

Tuesday, 14 May 2013

Week four, Monday Mani Challenge "Flowers"


Welcome to week four ladies:) Wow, has it been a month already? TIme seems to fly by sometimes... Anyhow, I had a real hard time with the flowers. Everyone says they are so easy, sadly I lack in the artistic things and even the simple dots to make flowers just did not work for me. I went with stickers, but it was nothing special. However, the ladies did a great job, as always. Let's get right into it:)


                                         Flowers

Michele CLinton. BAse is Sparitual "Deep" and she used stripers to do her flowers:) 

Deneen Champion Smith, with Essie "Enuf is enuf" as her base color:)

Here is Kathy's SMith's try at flowers:) She wasn't too happy with the outcome but she did much better than I did:)

I am not supposed to play favourites, I know, but these  are my fav of this week. I love the color combo and how simple yet perfect they look:) Great job Alaina feathers!

Roni Devore's creation:)

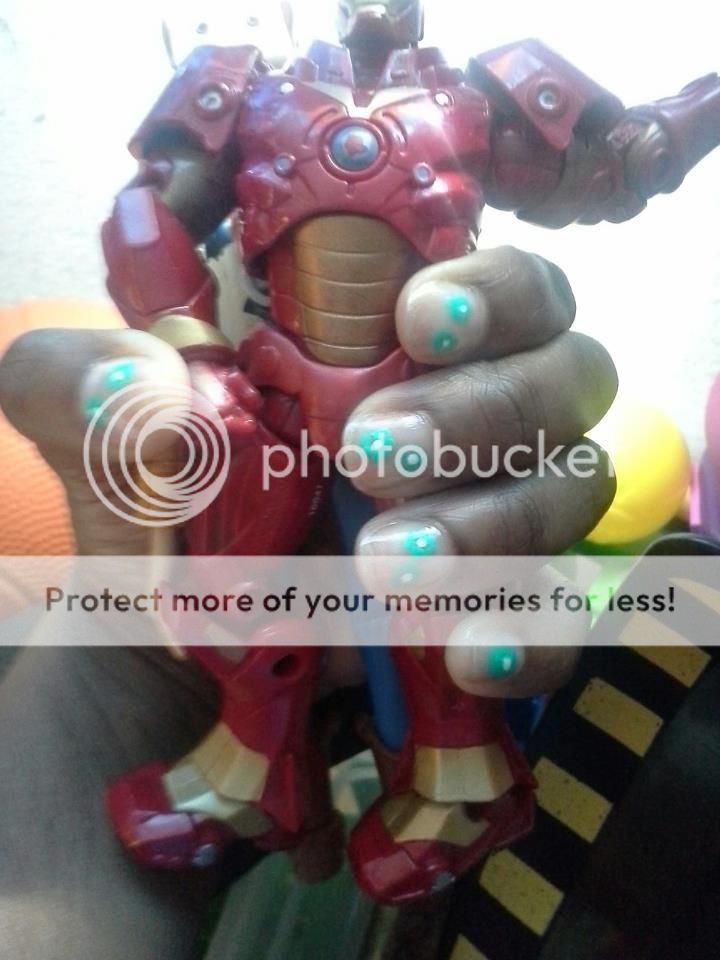
Linda Brooks with her flower mani and an action figure!:)

Dawn Bunny bun bun. I LOVE these!

Jeanie Pou with a delicate looking flower mani. Wearing OPI "Pussy galore" with a top coat.

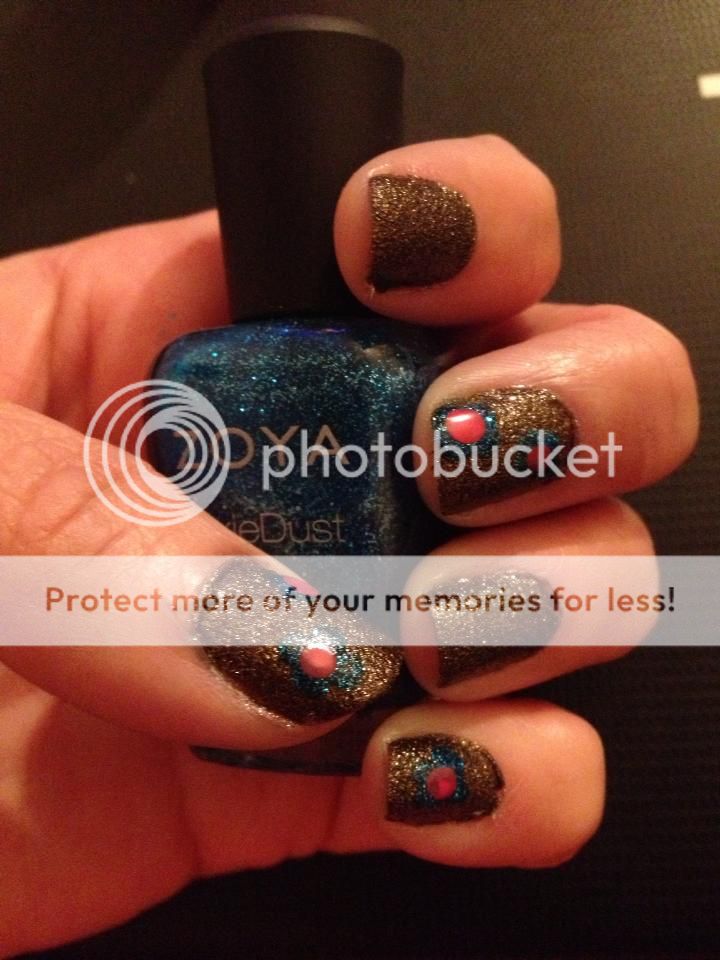
Anja Andersson did a great job!!! Misa Lets Go Green, Zoya Opal, OPI Dutch 'Ya Just Love OPI? and Nubar Hollywood Pink


 So, there we have it! Hope everyone is having fun doing these challenges:) I Can't seem to find my uploaded pictures at the moment but, as I said, I used stickers and it seems like "Cheating" next to all these pretty mani's. LOL! I will try to do better with the next challenge:)  As always, all info can be found here and everyone is welcomed:)

Friday, 10 May 2013

Monday Mani Challenge, Week 3, "french Mani


Ok so, for starters, MONDAY MANI, Krystal, MONDAY!!! Yes, I know. I wish I could blog more but life tends to get in the way sometimes. But I usually blog way more than this. Unfortunately, I haven't been feeling at my 100% so, not only am I late for this post, I have been lacking. I have so many pictures, just ready to go. As soon as I feel better, I will bombard you all with posts:) But for now, I am feeling quite a lot better tonight so I right away wanted to catch up on this week's challenge. SO, here we go. French Mani is the topic so the options are unlimited!!


                                        French Manicure
AH! I just had to start with the classic, white french tip mani! It's really is a beauty and  Marissa Garcia could not have done a better job! I have tried to do this myself and it NEVER looks this good....

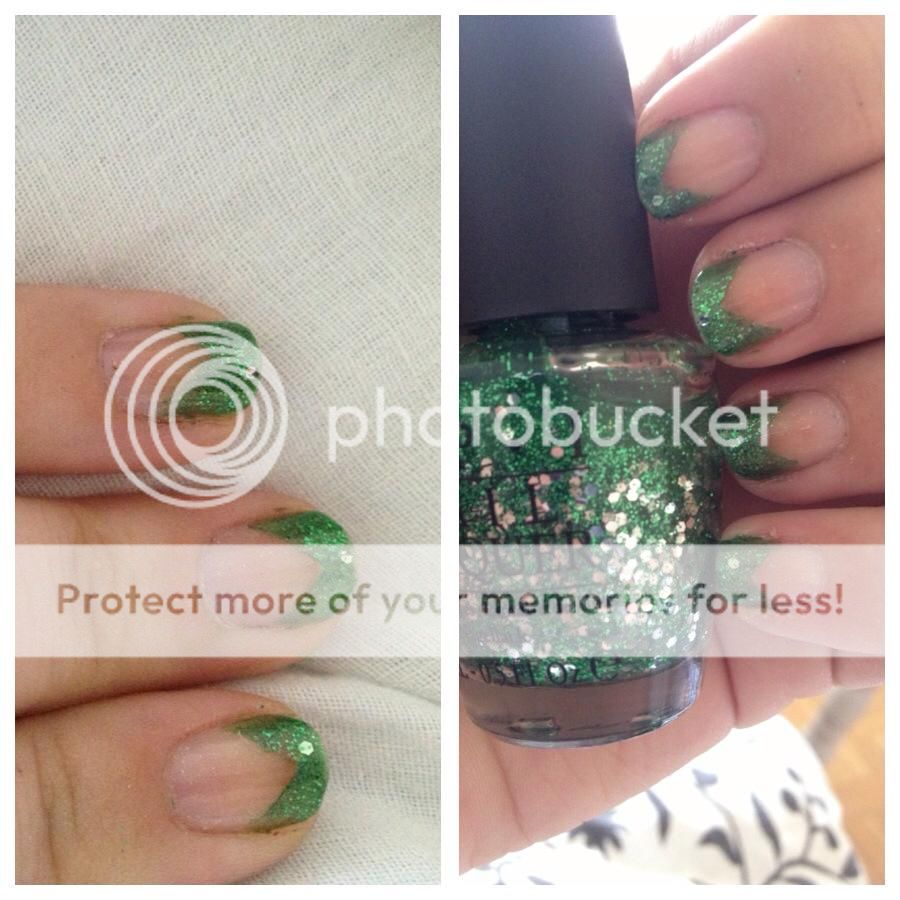
Malin Cervin Kristiansson did a really interesting french tip mani. Not only did she use glitter to make it pretty but she went all BOLD with a chevron shape rather than just a normal straight line:) 

Here is Linda Brook's cute french mani. What a cute color combo. I love the accent nail!!

These two pictures are from Kathy Smith who has now inspired me to try the French mani in a different way. I so love it when people think outside of the box. I seriously lack in imagination... I would  have never of thought of doing it this way.. I mean, I have done my nails, in this direction, half and half, but I love how she did not do that! She literally did a tip, but horizontally  SO GONNA TRY THIS!! Thanks Kathy! This looks SO COOL!


Here is Karly Ahrens wearing  Wet n Wild "I need a refreshmint" and Wet n Wild "Teal of fortune". I love wearing a light(or dark) and then adding the dark(or light) as the tip. Makes such a difference to just a plain mani.

Here's Jeanie Pou with the traditional french mani, yes, but with a cute, flowery twist. This is so adorable!


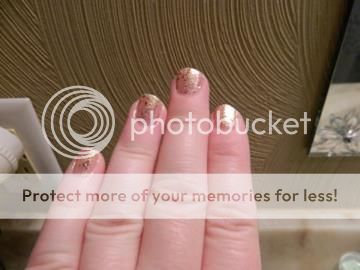
Deneen Champion Smith has my taste! My fav type of french mani's is using a holo/glitter polish with a black tip as I did here. I JUST LOVE how this combo works. Her color is just gorgeous and goes so perfectly with those black tips! 


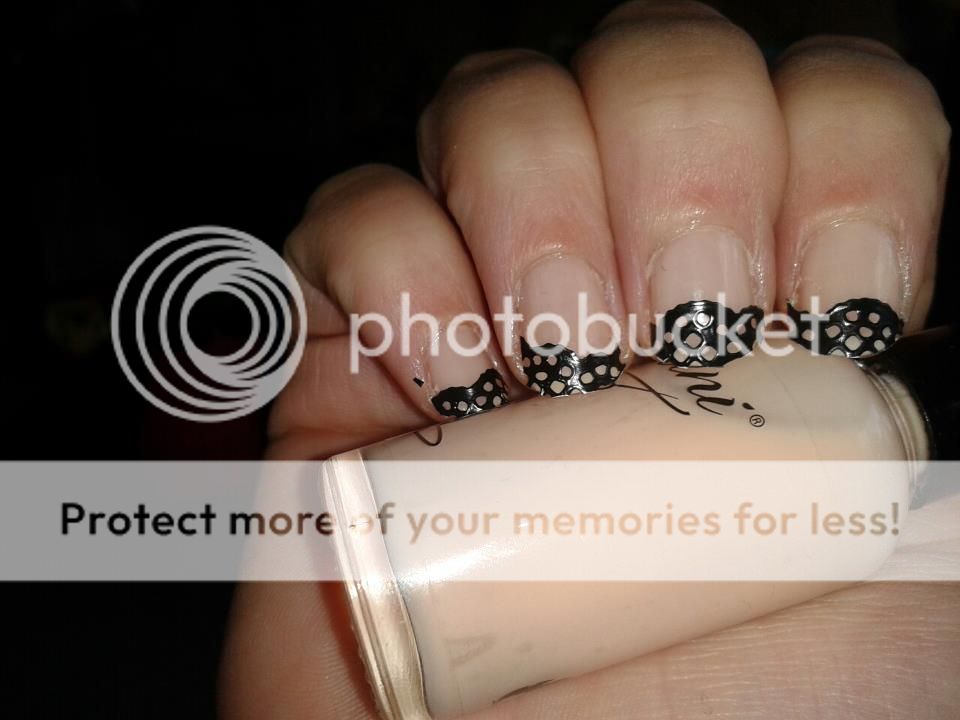
Briana Allan with a great twist for her french mani. She added  some black lace, scrapbooking sticker,s for her tips,  over her nude polish. What a great idea! You got to go with what you got, you know!!:)

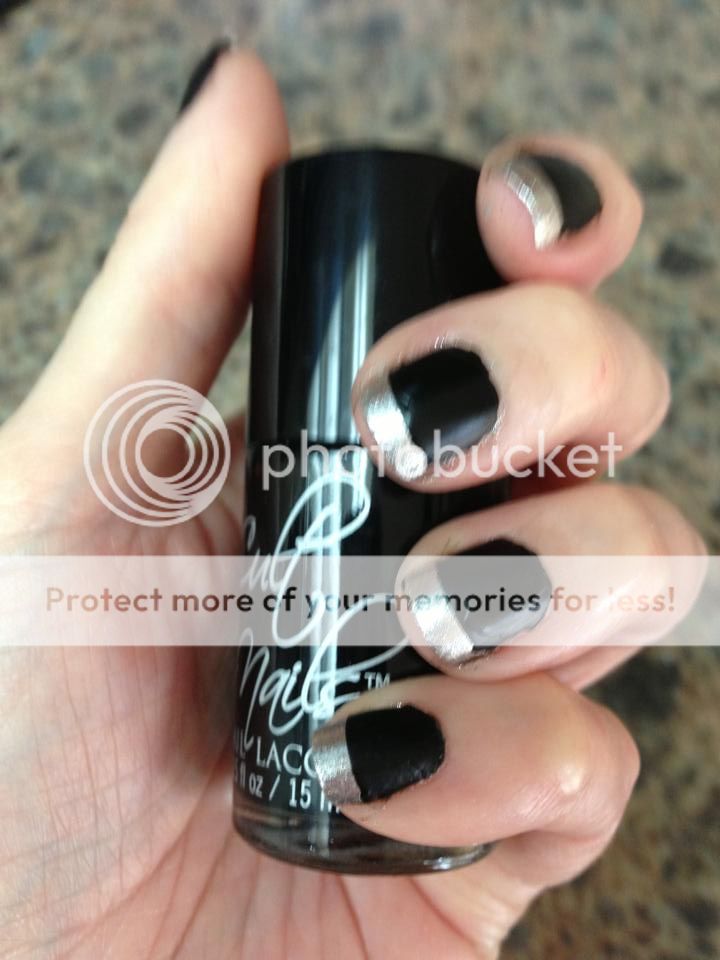
Michele Clinton wearing a perfect combo of Cult nails "Fetish" and   Zoya "Trixie" for the tips. What a lovely color combo!


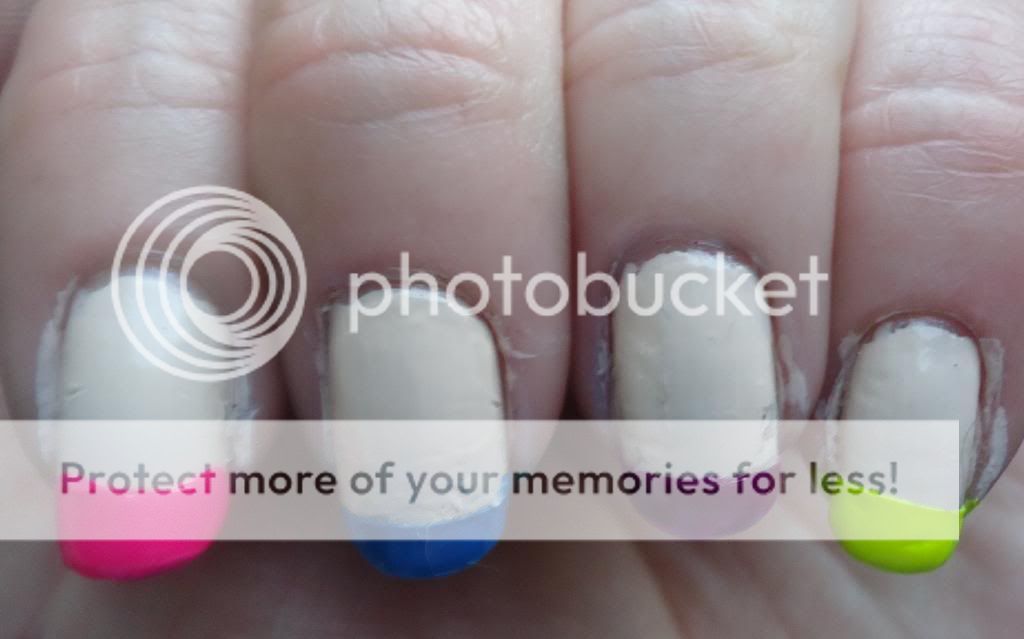
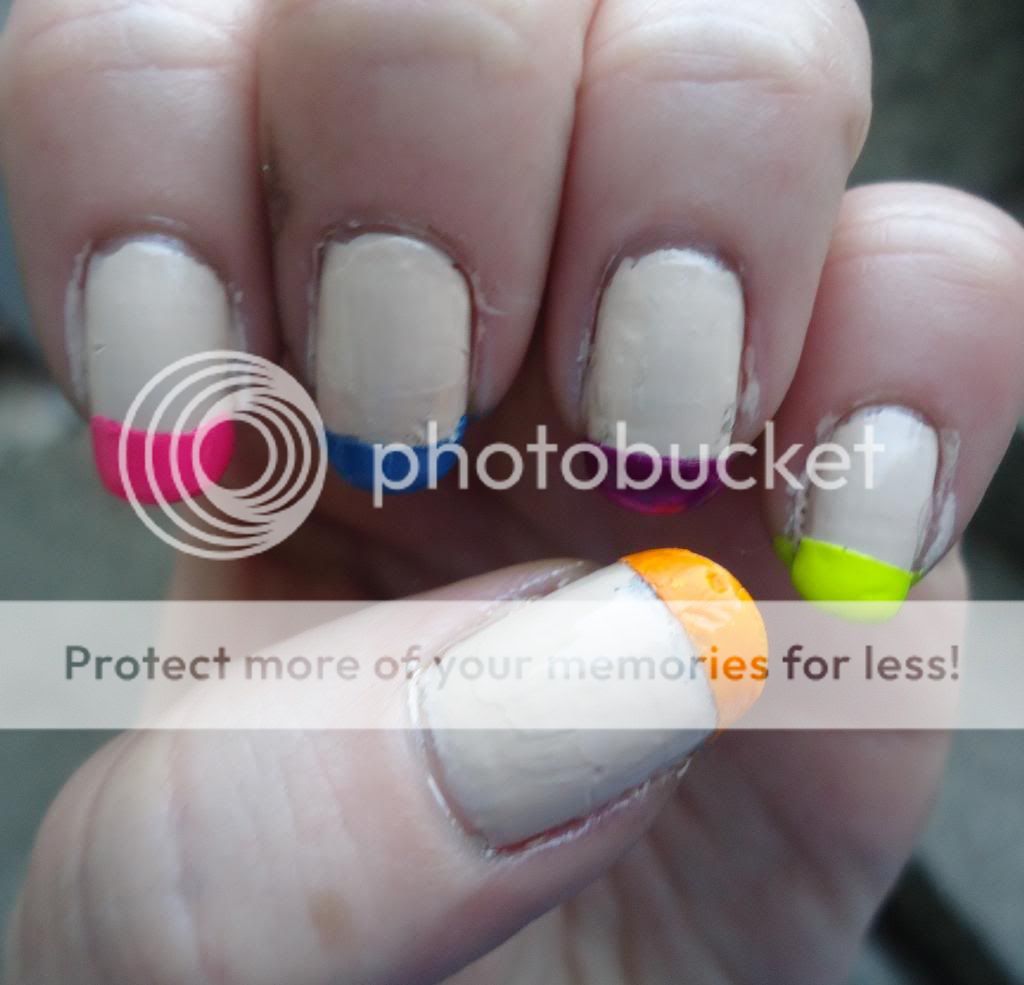
 So, there we have it. I LOVE doing these posts. I love seeing how everyone interprets the topic in there own way. WE could NEVER have everyone do the same thing, even if we wanted to. And that is what is so great about nails, no?? Ok, well, this is where I usually add my pictures.. UGH! I really am debating adding them... I did a french mani I have been wanting to try for quite a while. A beige/tan base with neon tips. AS I said, ok... I am making excuses...Who am I kidding. I bet even if I was feeling 100% , my nails would still look like this BUT, come one, let me kid myself so...
OK!! I was not feeling well so, I did not put as much heart and attention into my nails and I actually debated quite a bit over adding these... I did not do a cleanup job and I used stickers as a stencil for the white tips and once I took the stickers off, I started doing, I don't even remember what, but the stickers left behind a sticky residue so stuff starting sticking to them... HENCE why I did not even bother doing a cleanup job. BUT I do want to show that I did participate, so.... I will show what I did.. Lets just call them a practice to my next attempt because, if you are a fan of my facebook page (GO ON LIKE IT!!!) , you will see I have talked about wanting to try these for a while.. But, do you ever get that? You see something you really wanna do? You get all the needed polishes and everything is set. But just no matter how hard you try and work at it it NEVER looks as easy or as good as the tutorials?? Well, for me, that is my life story....LOL.. OK SO, I guess I am just babbling on here because I feel bad about the pics I am about to post and really want to explain as much as possible but ANYHOW!! What I want to do was a beige/nude base with neon tips...and without cleanup this is how they looked.....


So, as you can see, obviously not the best job, by far. But if I had cleaned it up and fixed the errors, it would have made a big difference and looked a lot better. But, I was just not into it. Like I said it takes practice...

So, there we have it. WOW, already week 3 (almost 4 now),,,, I am still welcoming all people who would love to participate. COME ON! The more the merrier, as I said. AS you can see by my pictures I added and, just look at the rest of my blog...I am nowhere near perfect and you do not have to be to join! Don't even have to do every challenge. Do what you can. Just send pictures to me by email, which you can find under the "about me tag" of my blog or just facebook me. All info about this challenge can be found here. You would be surprised at how fun it is to join and at how many people, who share your love or just hobby of nail polish, you would/could meet.
I am so thankful and grateful for all you lovely, talented ladies who let me share your manis on my little blog. I appreciate it so much and I am LOVING these challenges!!! So, ladies, comment and let me know what you think of this week (and yea, don't be shy, give me heck for being late:) and how you are liking it so far! I am having so much fun! and, seeing other pictures, it inspires me to do mine. Even if I don't feel good, I know that all you lovely ladies are out there, doing the challenge and just taking that little time it takes to do my nails, knowing it connects me to you guys is worth all the time and effort (OMG!! YES! I am so corny!! STFU!)

Hope to hear from all of you guys and I am looking forward to every upcoming challenge!!!
                 

Tuesday, 30 April 2013

Monday Mani Challenge, week 2, "Yellow"


Welcome to our second week. YELLOW! A lot of girls didn't like this one. I didn't hate it but I hardly ever wear yellow. Just doesn't go with my skin tone and never looks good on me. Seems to be the consensus of most. But, we stuck with it and did it. I know most were "this is my only yellow" and myself, with a stash of almost 600 only had less than 10. But yes, we did it and, like last time, here it is:)


                                                                    YELLOW

Kellee Foster wearing  A-England "and the moonbeams" topped with  "she walks in beauty"

Michelle Clinton Cult nails "You're a dandy lion", wow, gorgeous yellow!

Marissa Garcia  from http://ladydomestic.com/wearing a gorgeous yellow by Lime Crime. I know I can't play favourites, but, well, I LOVE this one! It is just gorgeous! The mani, the color, just a gorgeous swatch!!!!

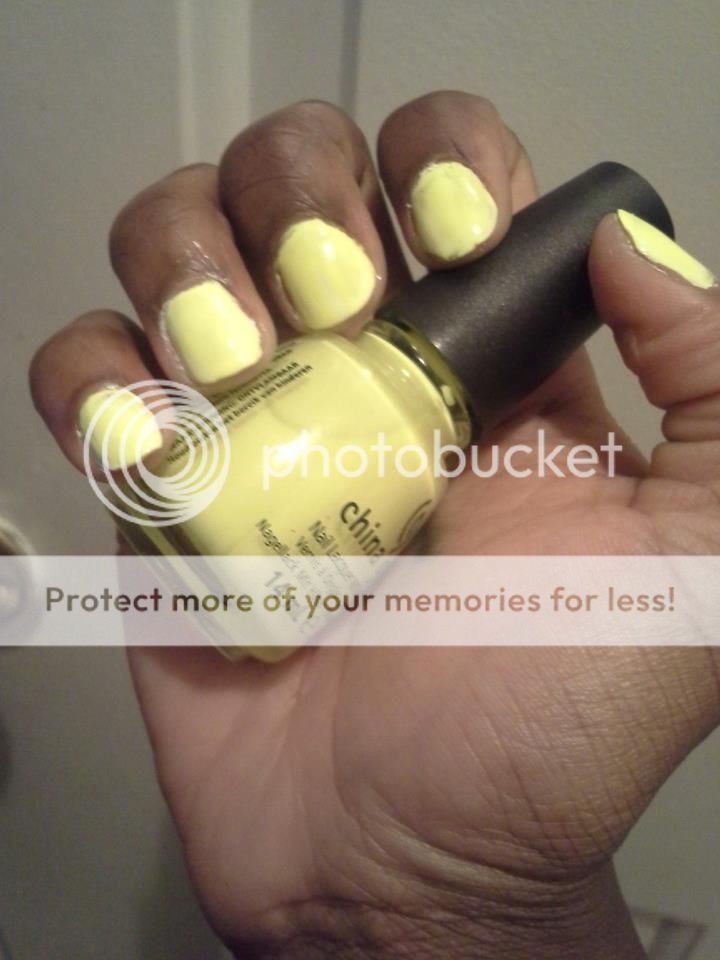
Linda Brooks, from https://www.facebook.com/My2CrazyCurls wearing China Glaze "Celtics Sunc" over Zoya "Purity" .
Lisa Waldhaus  "H&M "Being on the A-List". 
Kathy Smith with a Butter London for her yellow mani:) 
Karly Harens :)
Karin Johansson wearing "Depend" #356. Never heard of this brand but it sure is gorgeous!!!
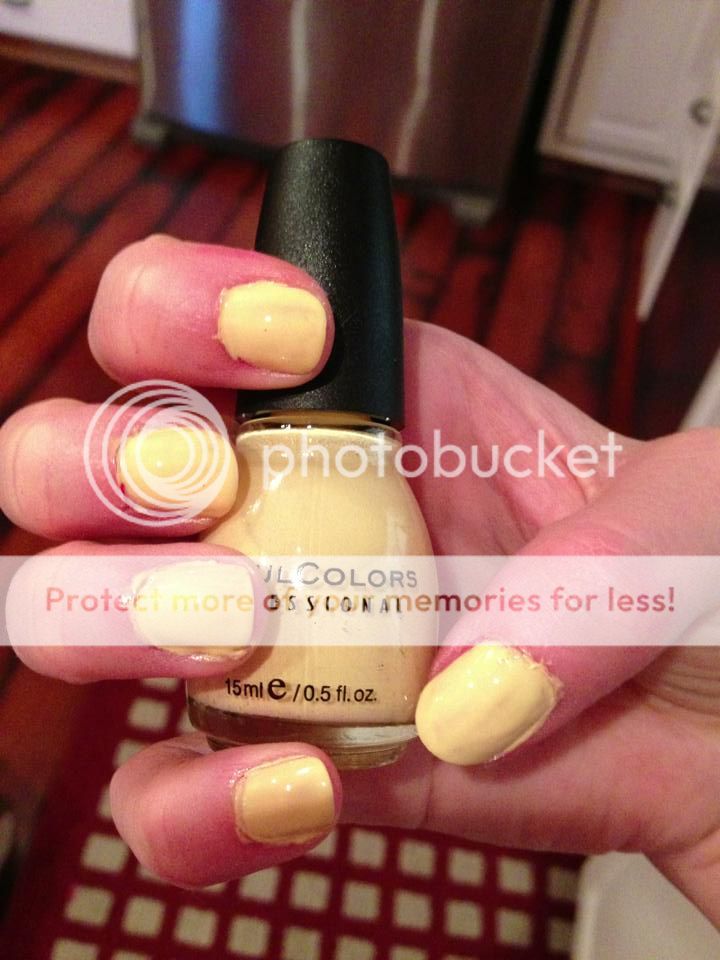
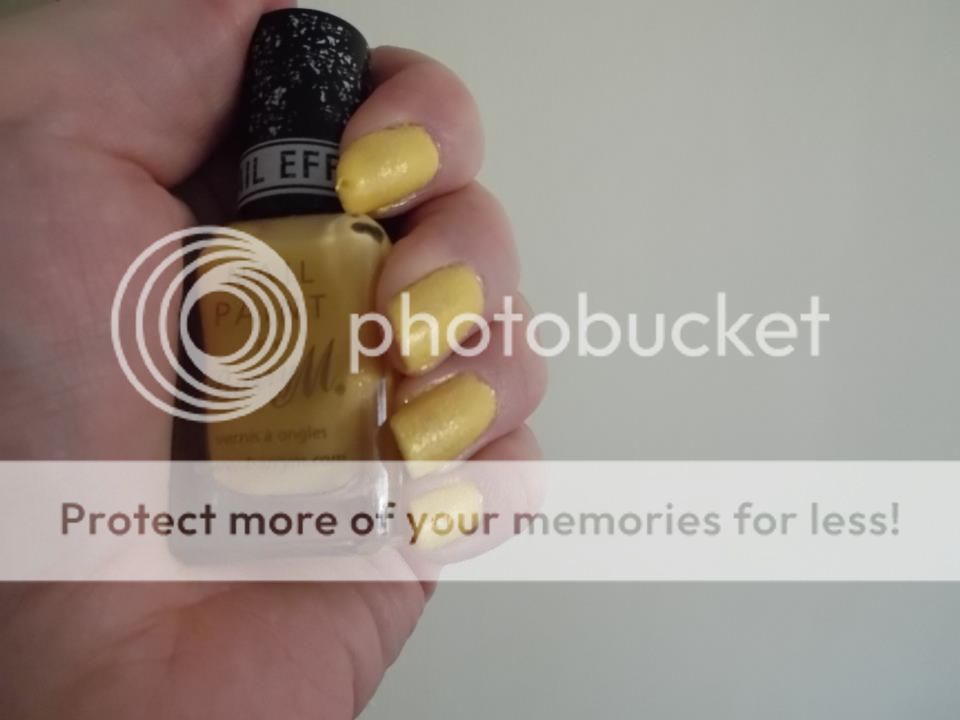
Julie Smith wearing Barry M "Station road textured" 
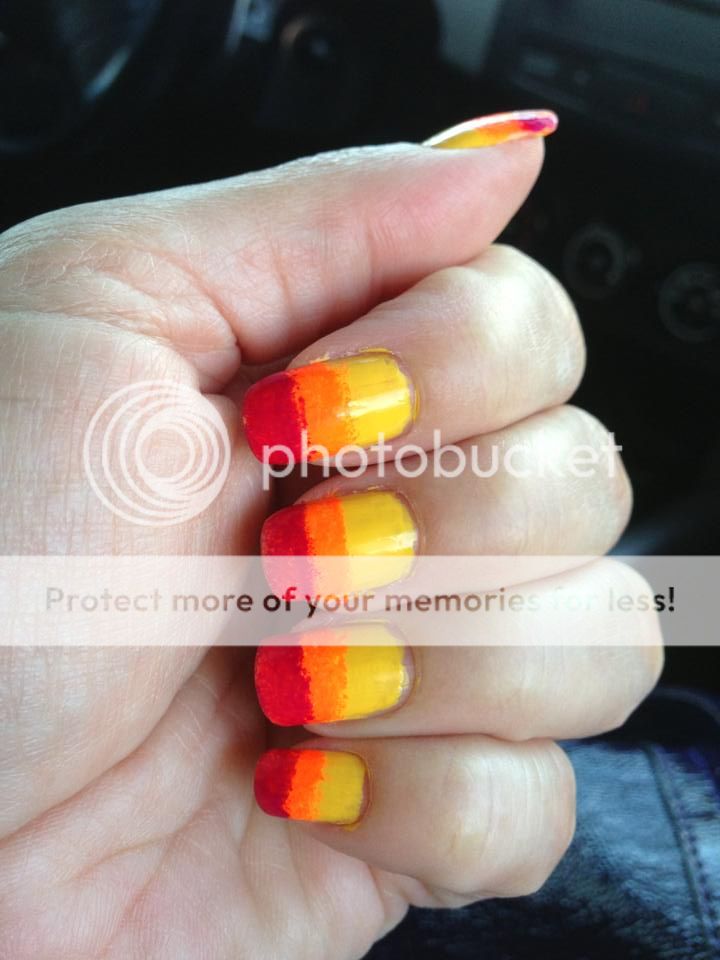
Jeanie Pou wearing  the China Glaze "poptastic" collection for a cool, yellow inspired mani:)
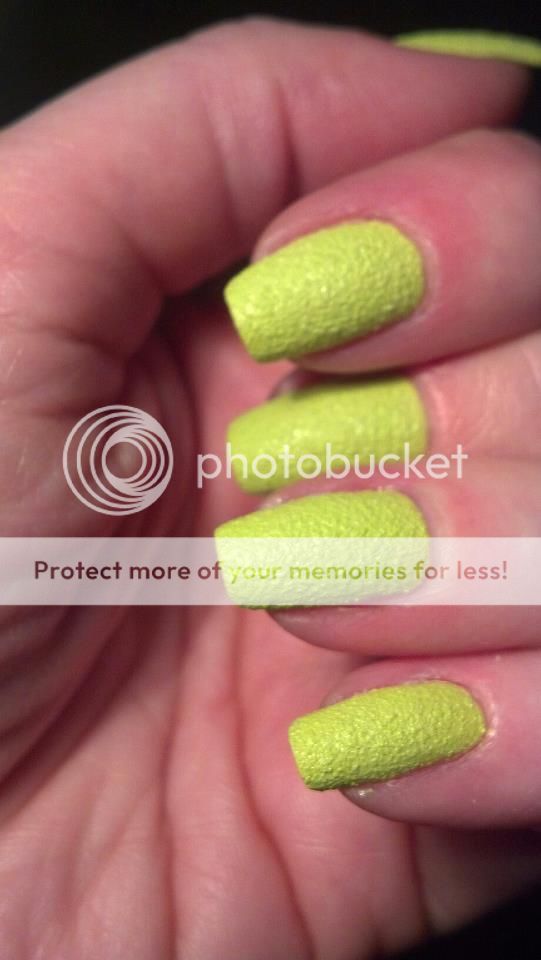
The lovely Deneen Champion Smith did not want to submit this at first because she did not think it was yellow. As I said, to her I am not strict, submit what you used, this is just for fun afterall. But the weird thing, I think this is absolutely yellow and it's one of my fav swatches for this week! Which means I will have to go buy myself these pretty textures and this color will for sure be in my basket!:)
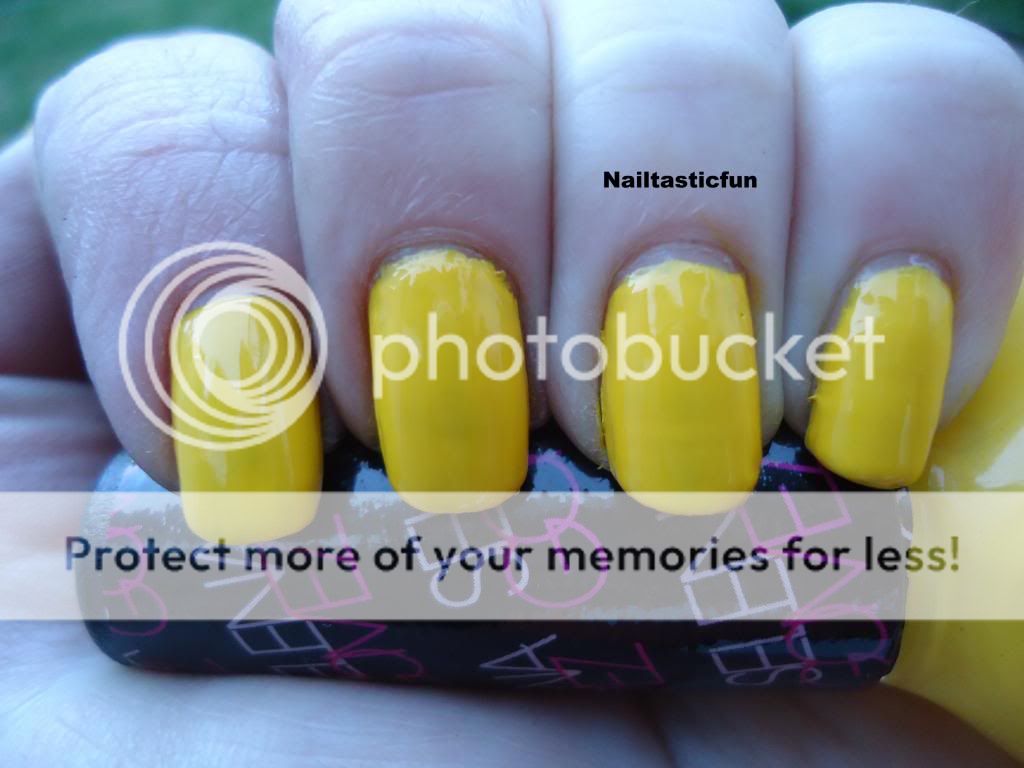
Brianna Allan , who unlike most, loves her yellow. This is OPI "Need sunglasses" and it is one of her favs. I agree, it's a pretty yellow. Accent finger is Gold "bling dynasty".  
LOVE IT!!!! Anja Andersson made a gorgeous yellow mani by adding  making it a dotticure! SO pretty!:):)
Alaina Feathers from http://dontspilltheacetone.blogspot.ca/ . I now want to wear a yellow I have just so I can put on  one of my black/white glitters on top of it! I think it makes for a great combo!
here is Roni Devore's yellow mani! :)
Here is Ana from Alilacquer! WOW! I LOVE this! I wish I was this creative with my nails! I just lack imagination, I guess.. this is just gorgeous and perfect and YELLOW!!! Awesome job!


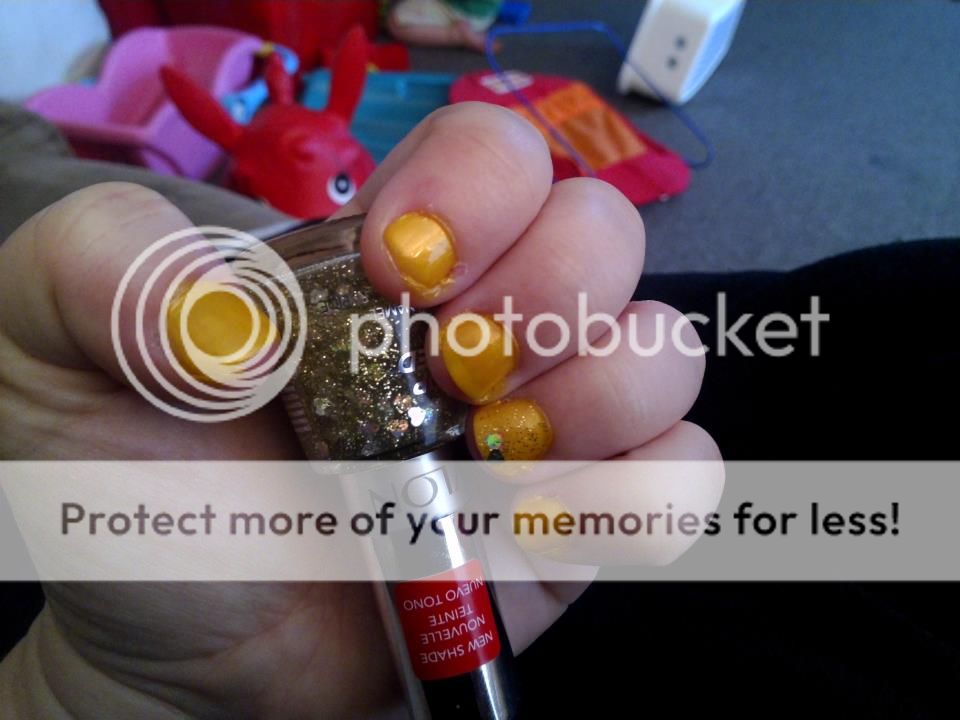
So, as I mentioned, I only had about 8 yellow's in my stash. I was really surprised that I had no Essie's or OPI's in that color. I had some OPI's that were on the yellow side but no yellows, which made me think that yellows, actually, are not released too often. I always get Essie collections and have for almost 2 years and as I said I have no yellows by them. Which means, they have not released any. None that I have seen. Please correct me if I am wrong. But at the same time, it is not a color that I gravitate to. So, what I choose for my mani is NOPI "Hit the lights" from the Selena Gomez collection. One of the main reasons I have this polish, I must admit, is because once I start on a collection, I don't stop until I have the whole set. This was an untried for me. And whereas it is not that bad, it's not my fav polish by far. I did add "confetti fun" over it when I was done, from this collection , and it made my mani wearable. I did not add any pictures though because I wanted to just be yellow! So, here are my swatches. and look, yes, I add more than one picture! You guys know me, I take so many pictures of one mani, just 3-4 pictures too choose is hard for me, LOL! I have told everyone, submit as many pictures as you like. So, trust me, this is hard for me, and I will explain it this time, but I add mine at the end and by force of habit, I add a few. And as you can see, by looking at all the pictures added, mine are by far the best of the bunch. It's just the way I am:) SO, here is my yellow mani:)

                                                                            Outdoors


Indoors, under light


In shade


So, there we have it! As I said guys, the more the merrier! Doesn't matter if you don't have them ready by Monday. Life gets in the way, I myself am a day late with this post. As long as you submit before I do the following weeks post, I will add your pic. Anything, and everything is welcomed and would love people to join! Hope you guys enjoyed this weeks! What are your thoughts on yellow polishes? Like them??? Hate them?? Do they work for you?? Let me know and hope I get more of you to join on in the fun!