

Hey guys,
so I have been seriously lacking on posts lately. Been busy...blah blah blah, I know. Anyhow, I have a great treat for you guys today. A friend of mine is always posting pictures of her nails on Facebook and I , of course, always noticed them. And I must say she does really nice and amazing mani's. Here's a few from her facebook page...
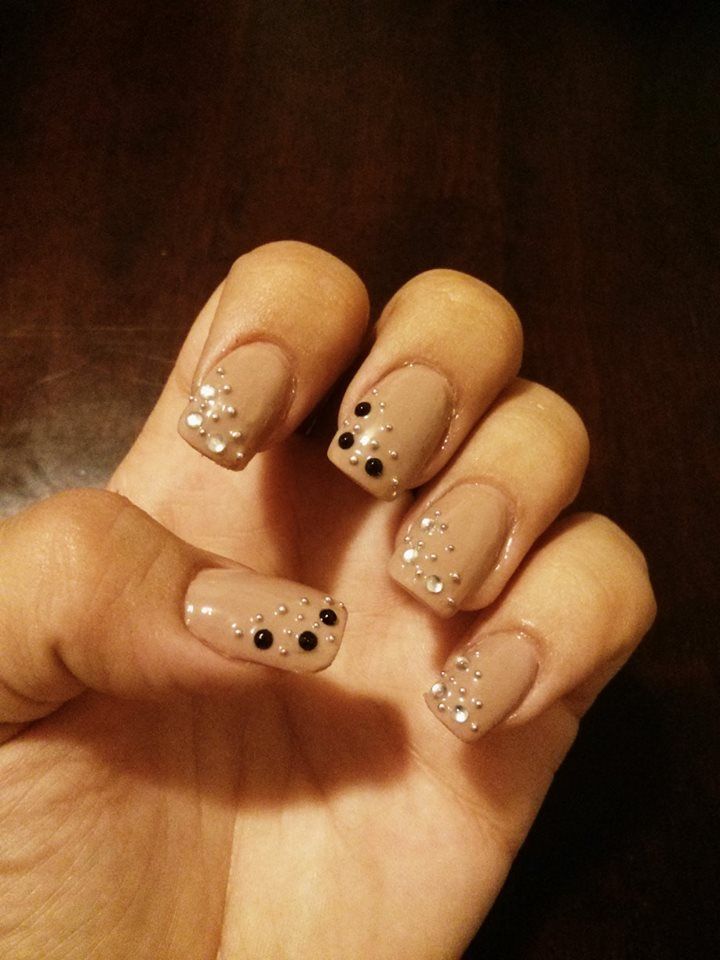 |
| Simple yet elegant mani with rhinestones:) |
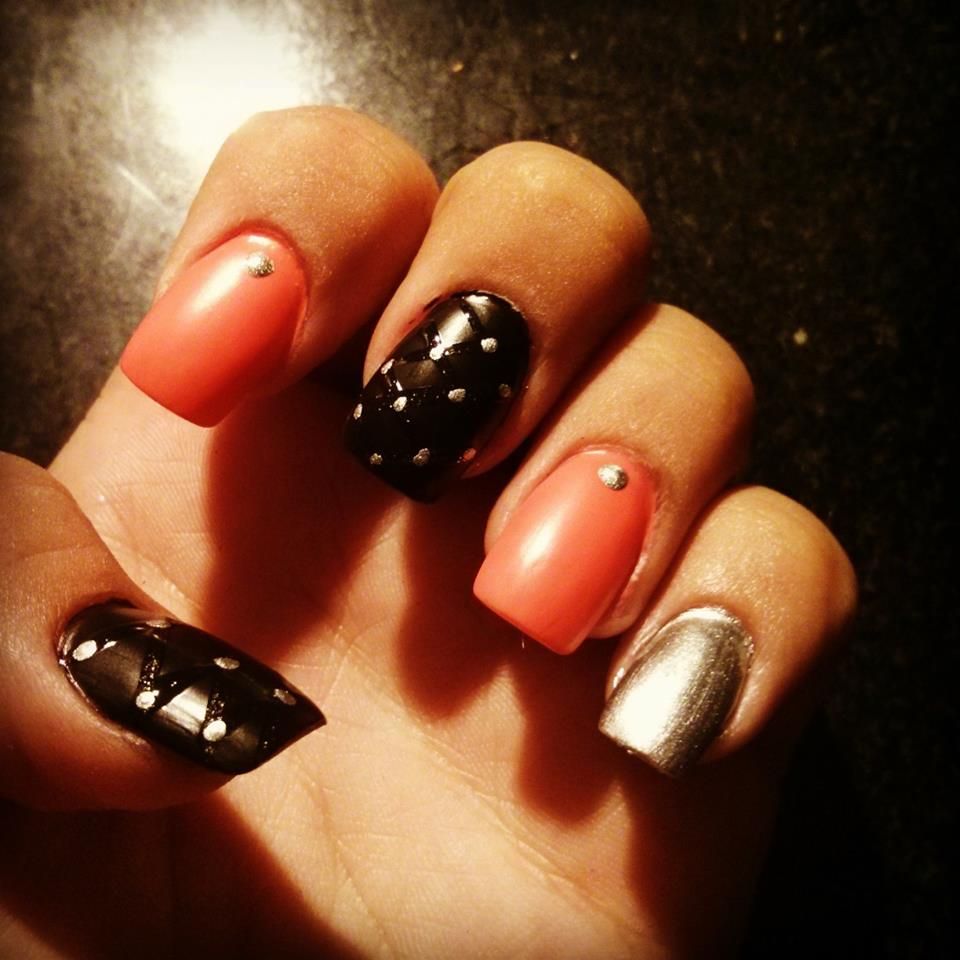 |
| I LOVE the look of this one! Just LOVE IT! Great mix of colors and especially love what she did with the black! |
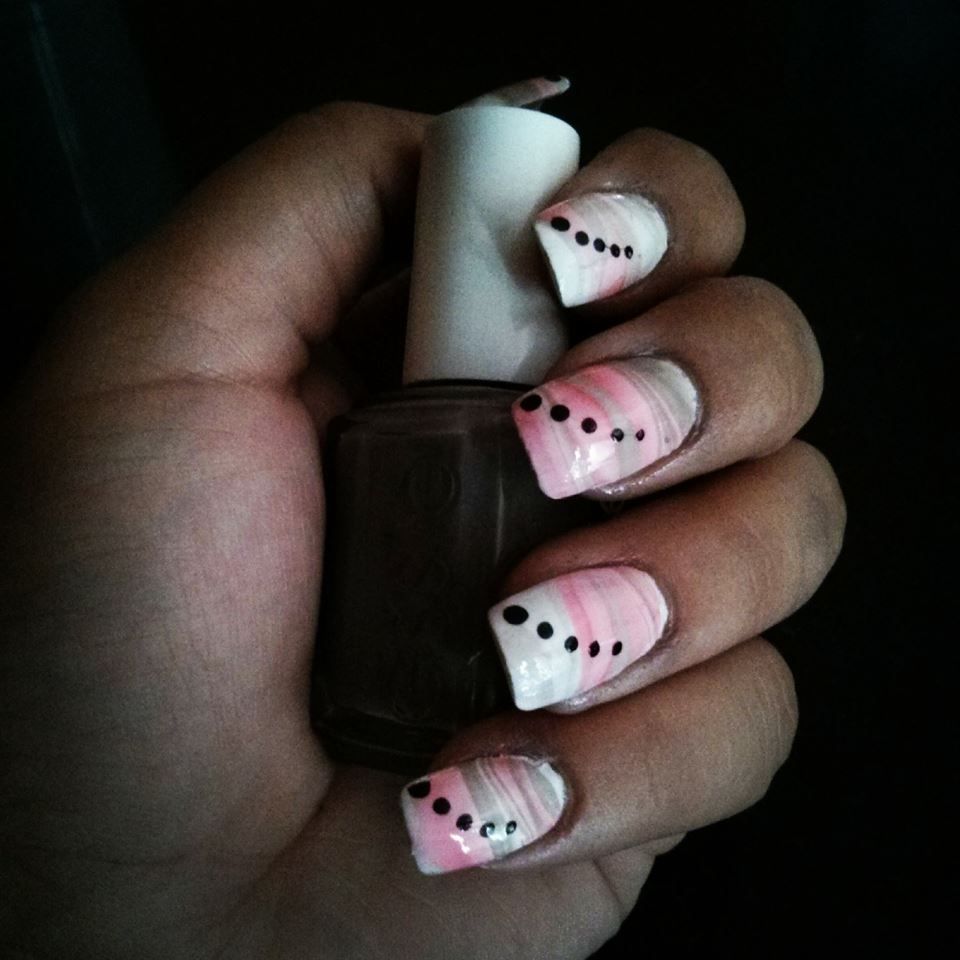 |
| Look at that AWESOME water marble work! I think we need her to give us a tutorial on how she made her look so perfect!!! |
Really great stuff eh?!?! Much better than I tend to do, although that is not hard to beat... Shannon is an old friend of mine from high school, she doesn't have a blog (yet...) but says nails are her passion and it shows. So, I asked her if she would like to do a guest post on my blog, just to dip her toes into the blogger world and I am thrilled to say that she agreed, after a bit of convincing:) So, she did a tutorial for me. A leopard print tutorial, which is one I need to follow! SO let's get right to it. All pictures are of Shannon's nails, taken herself and all instructions are her own:)
Let's get to the good stuff:) I leave you in the very capable hands and tips of Shannon from here:)
Leopard print mani tutorial
Hi everyone! okay... So this is my first time doing any sort of tutorials, so hopefully it won't be half bad and some of you will actually enjoy it! Lol. I decided to do leopard print nails today. I'm sure some of you think it looks a little hard but believe me it's actually very simple!
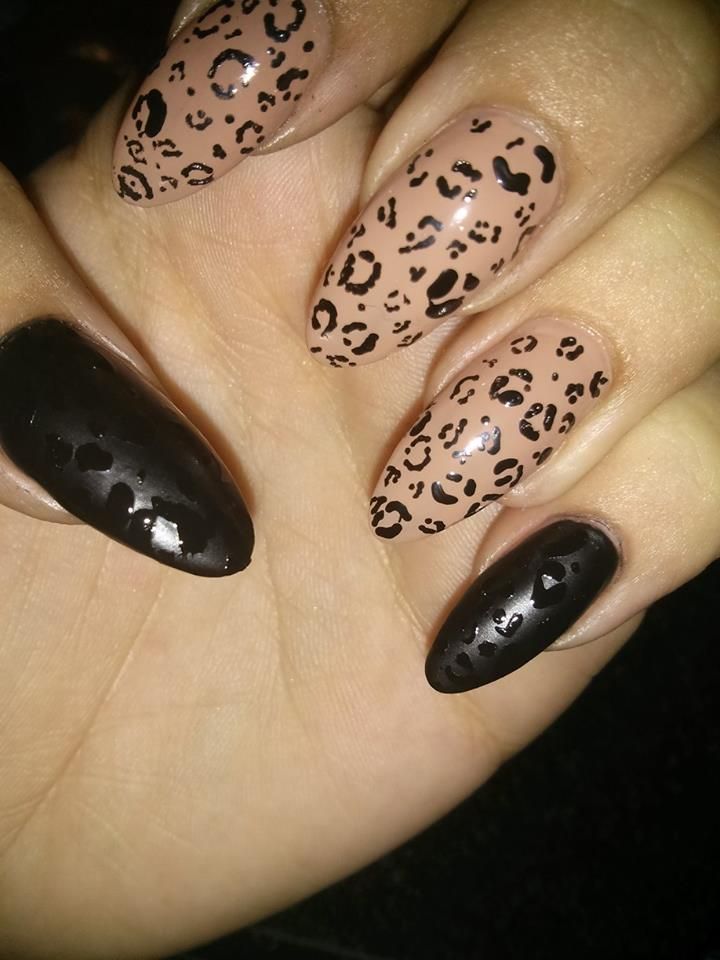
For the first step I applied a base coat to all of my nails before beginning to apply the Polish. As for the colors I used my Revlon Color Stay in Nude Beige, Sally Hansen Hard as Nails Black Out #370, as well I have my NYC Matte me Crazy, along with my Personnelle Nail Design pen in Black.
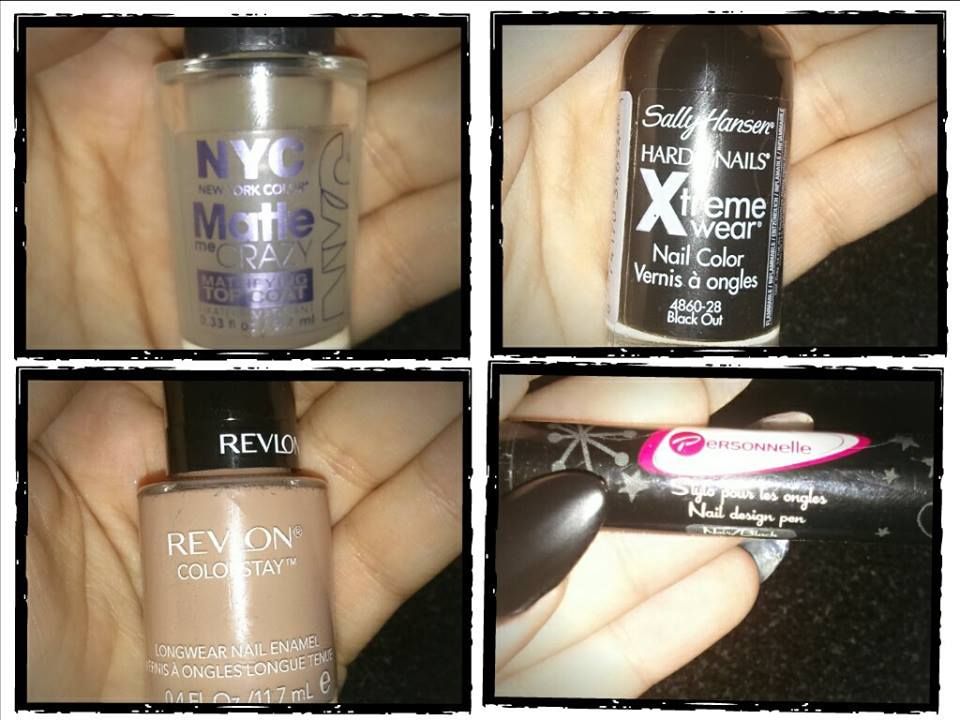
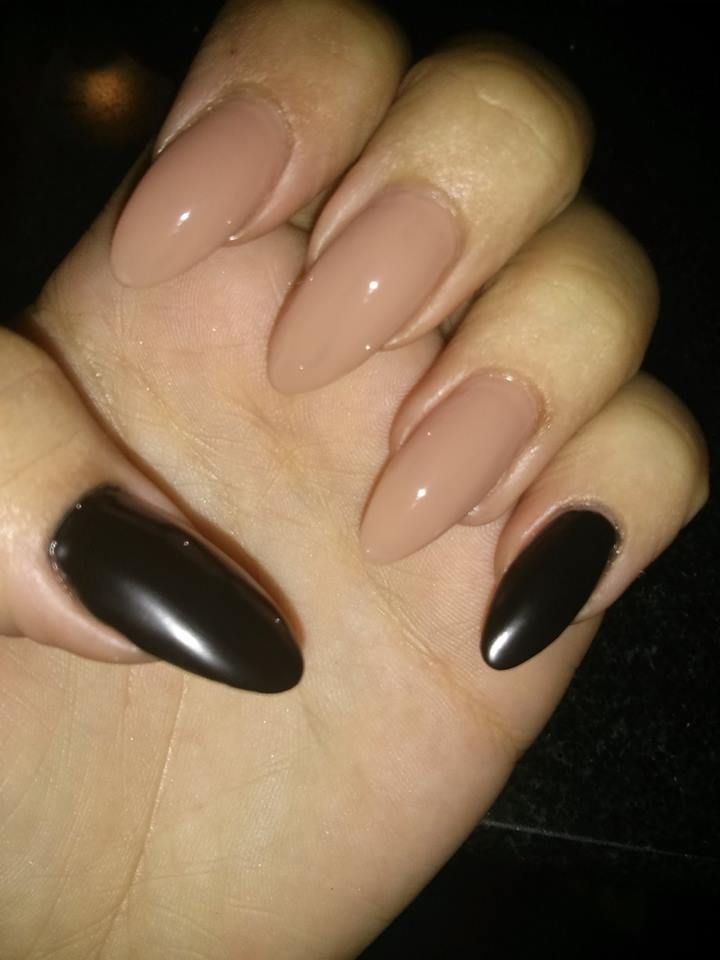
Once my base coat was dry I applied two coats of the Beige to my index, middle and ring finger, and two coats of the Black to my pinky and thumb. Once dried, I applied the Matte top coat to my pinky and thumb.
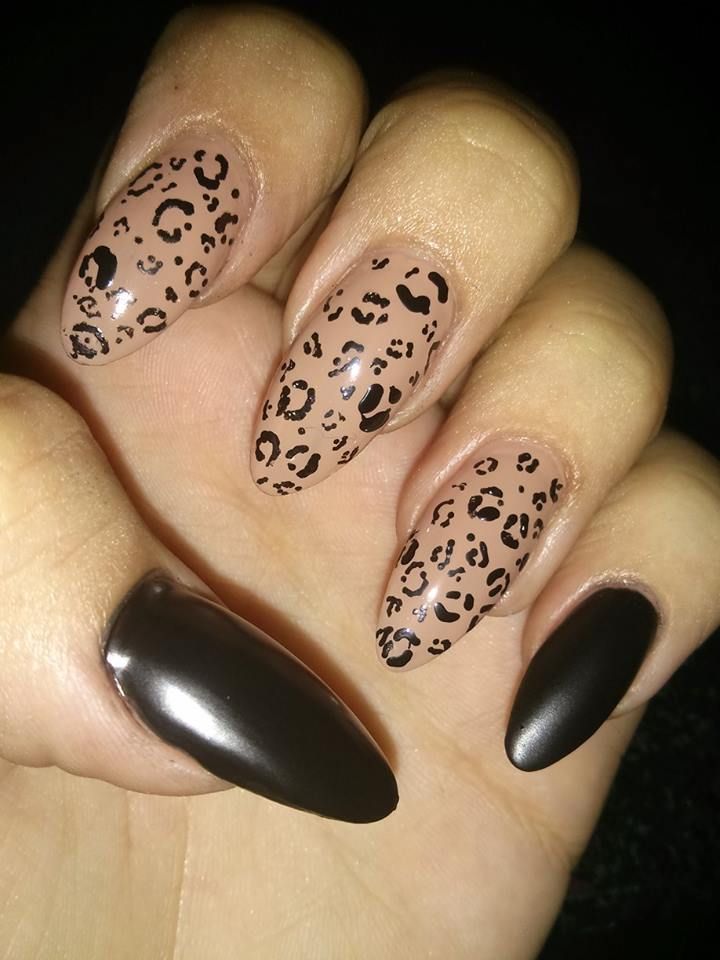
Now for the fun part! For this stuff I used my nail art pen. (Some people prefer a dotting tool or strippers, I just feel I have more control with the pen) I know I know it looks hard right? But its really not... All you have to do is create curved lines mix those up with dots and you're done! I personally prefer to make some bigger than others , but you don't have to. If you're not comfortable doing this directly on your nail polish you can practice on a paper if it's your first time. It should come out looking something like this...
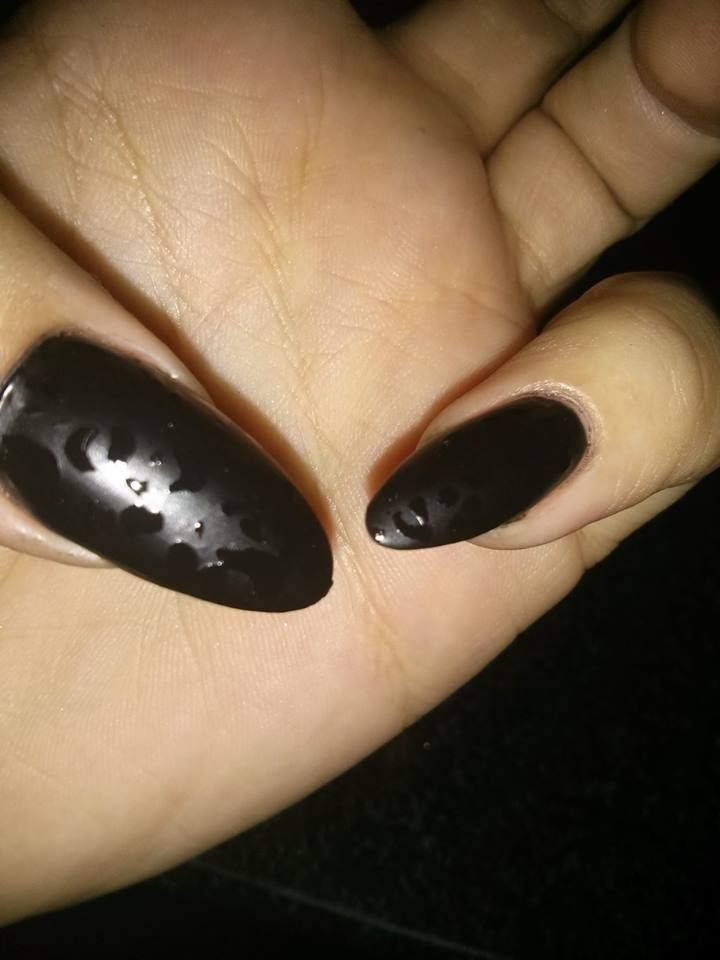
Now that we can be sure that are our black matte nails are completely dry, we can go ahead with either a dotting tool or a fine brush and you're top coat! All I have to do now is dip your brush or dotter into the clear top coat and do the same pattern onto your thumb and pinky nails. I like to make mine a little bit bigger just so that we can see the matte nail polish underneath a little bit better.
Once we're done simply apply your top coat to whichever fingers are not mattified, in this case your index, middle and ring finger and you're DONE! But be careful... It might take some time for your nails to dry completely with all these different coats of polish that we have on here. I hope you enjoy your nails as much as I do mine!
And just to show you guys a great example of what Shannon means by "YOu get more control with a nail art pen" and I will DEFINITELY use one next time I try it again, for mine I used a dotting tool and had NO CONTROL whatsoever. This is a mani that was never posted to the blog because, well, you will see in the pictures how bad it looks. This is with no clean up because I took it off right away....
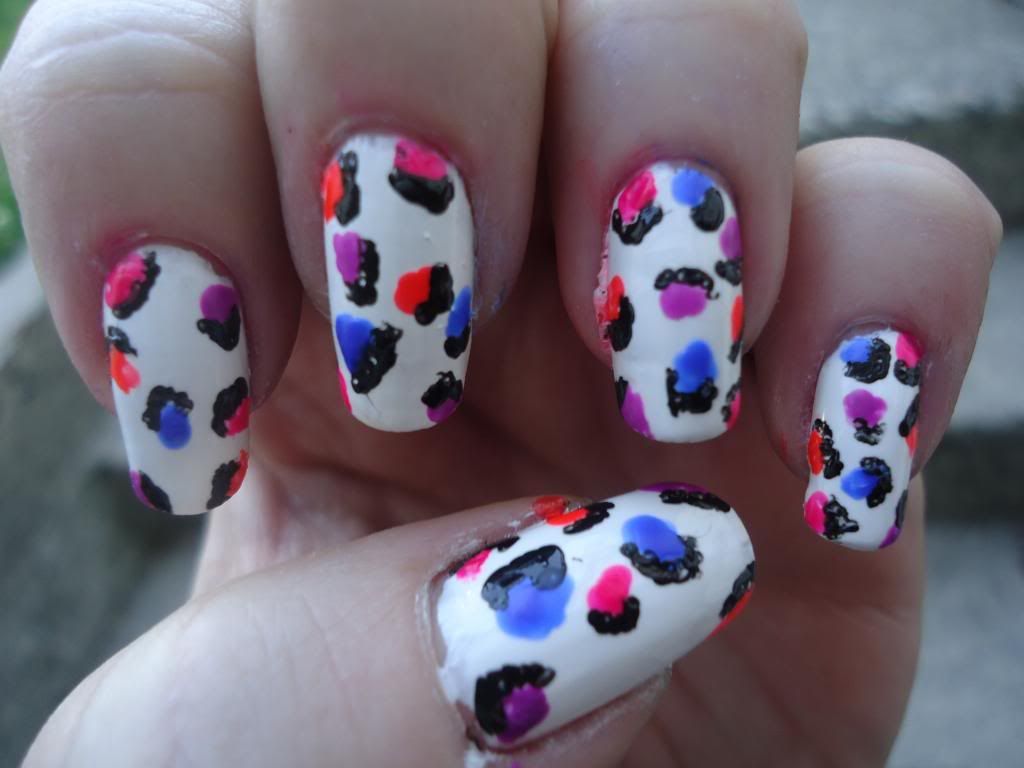
YEAH YEAH! No laughing! I told you it was a major fail on my end! :P
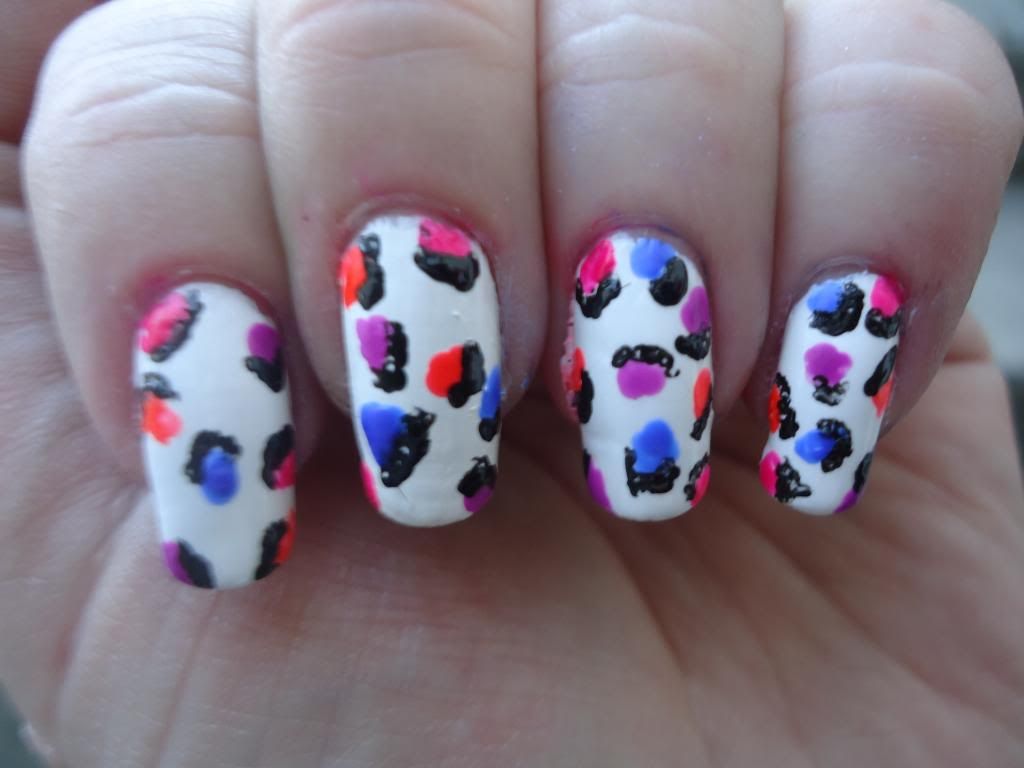
Unlike me, Shannon wasn't going for a neon, colorful print like I was. But if you wanted to, you could still follow her instructions very easily. I would just suggest that first, use your dotting tool and do colorful dots all over your nail and then use the nail art pen to draw around it. There are so many ways you can do a leopard print mani. I really like Shannon's and the way she kept it simple yet elegant and something you could definitely still wear to work!
*All polishes used/shown in this post were purchased from said persons own pocket. Nothing was provided for review and all opinions are my own and those of my guest.
